Designing high quality graphics is easier than ever these days with high quality and easy to use tools like Figma. But in a completely different league are tools like Midjourney and Leonardo that use stable diffusion to generate entirely new images based on images found on the internet. This process, known as Generative AI, is what I’ll be using to create cover images for my website and other projects. I’ll detail the steps of what I do and which tools I use, sharing images from the process and specific use cases.
Use Cases of Generative AI
First, I generate 1:1 images using Midjourney or Leonardo. These can be based off of an image or be completely new.
Then, I import these generated images into Leonardo Canvas to generate or extend a background.
Let's look at some examples.
Portfolio.v3 Home Cover Image
We will look into the process of how I made the cover image for the home page of this site.
I used three tools in this order:
- Lensa
- Midjourney
- Leonardo
1. Lensa
Lensa is a paid AI avatar tool that I first used in December 2022. To use it, you upload 5-10 selfies, pay $8, and hit generate. This app generates 200 images with 20 variations in 10 categories.
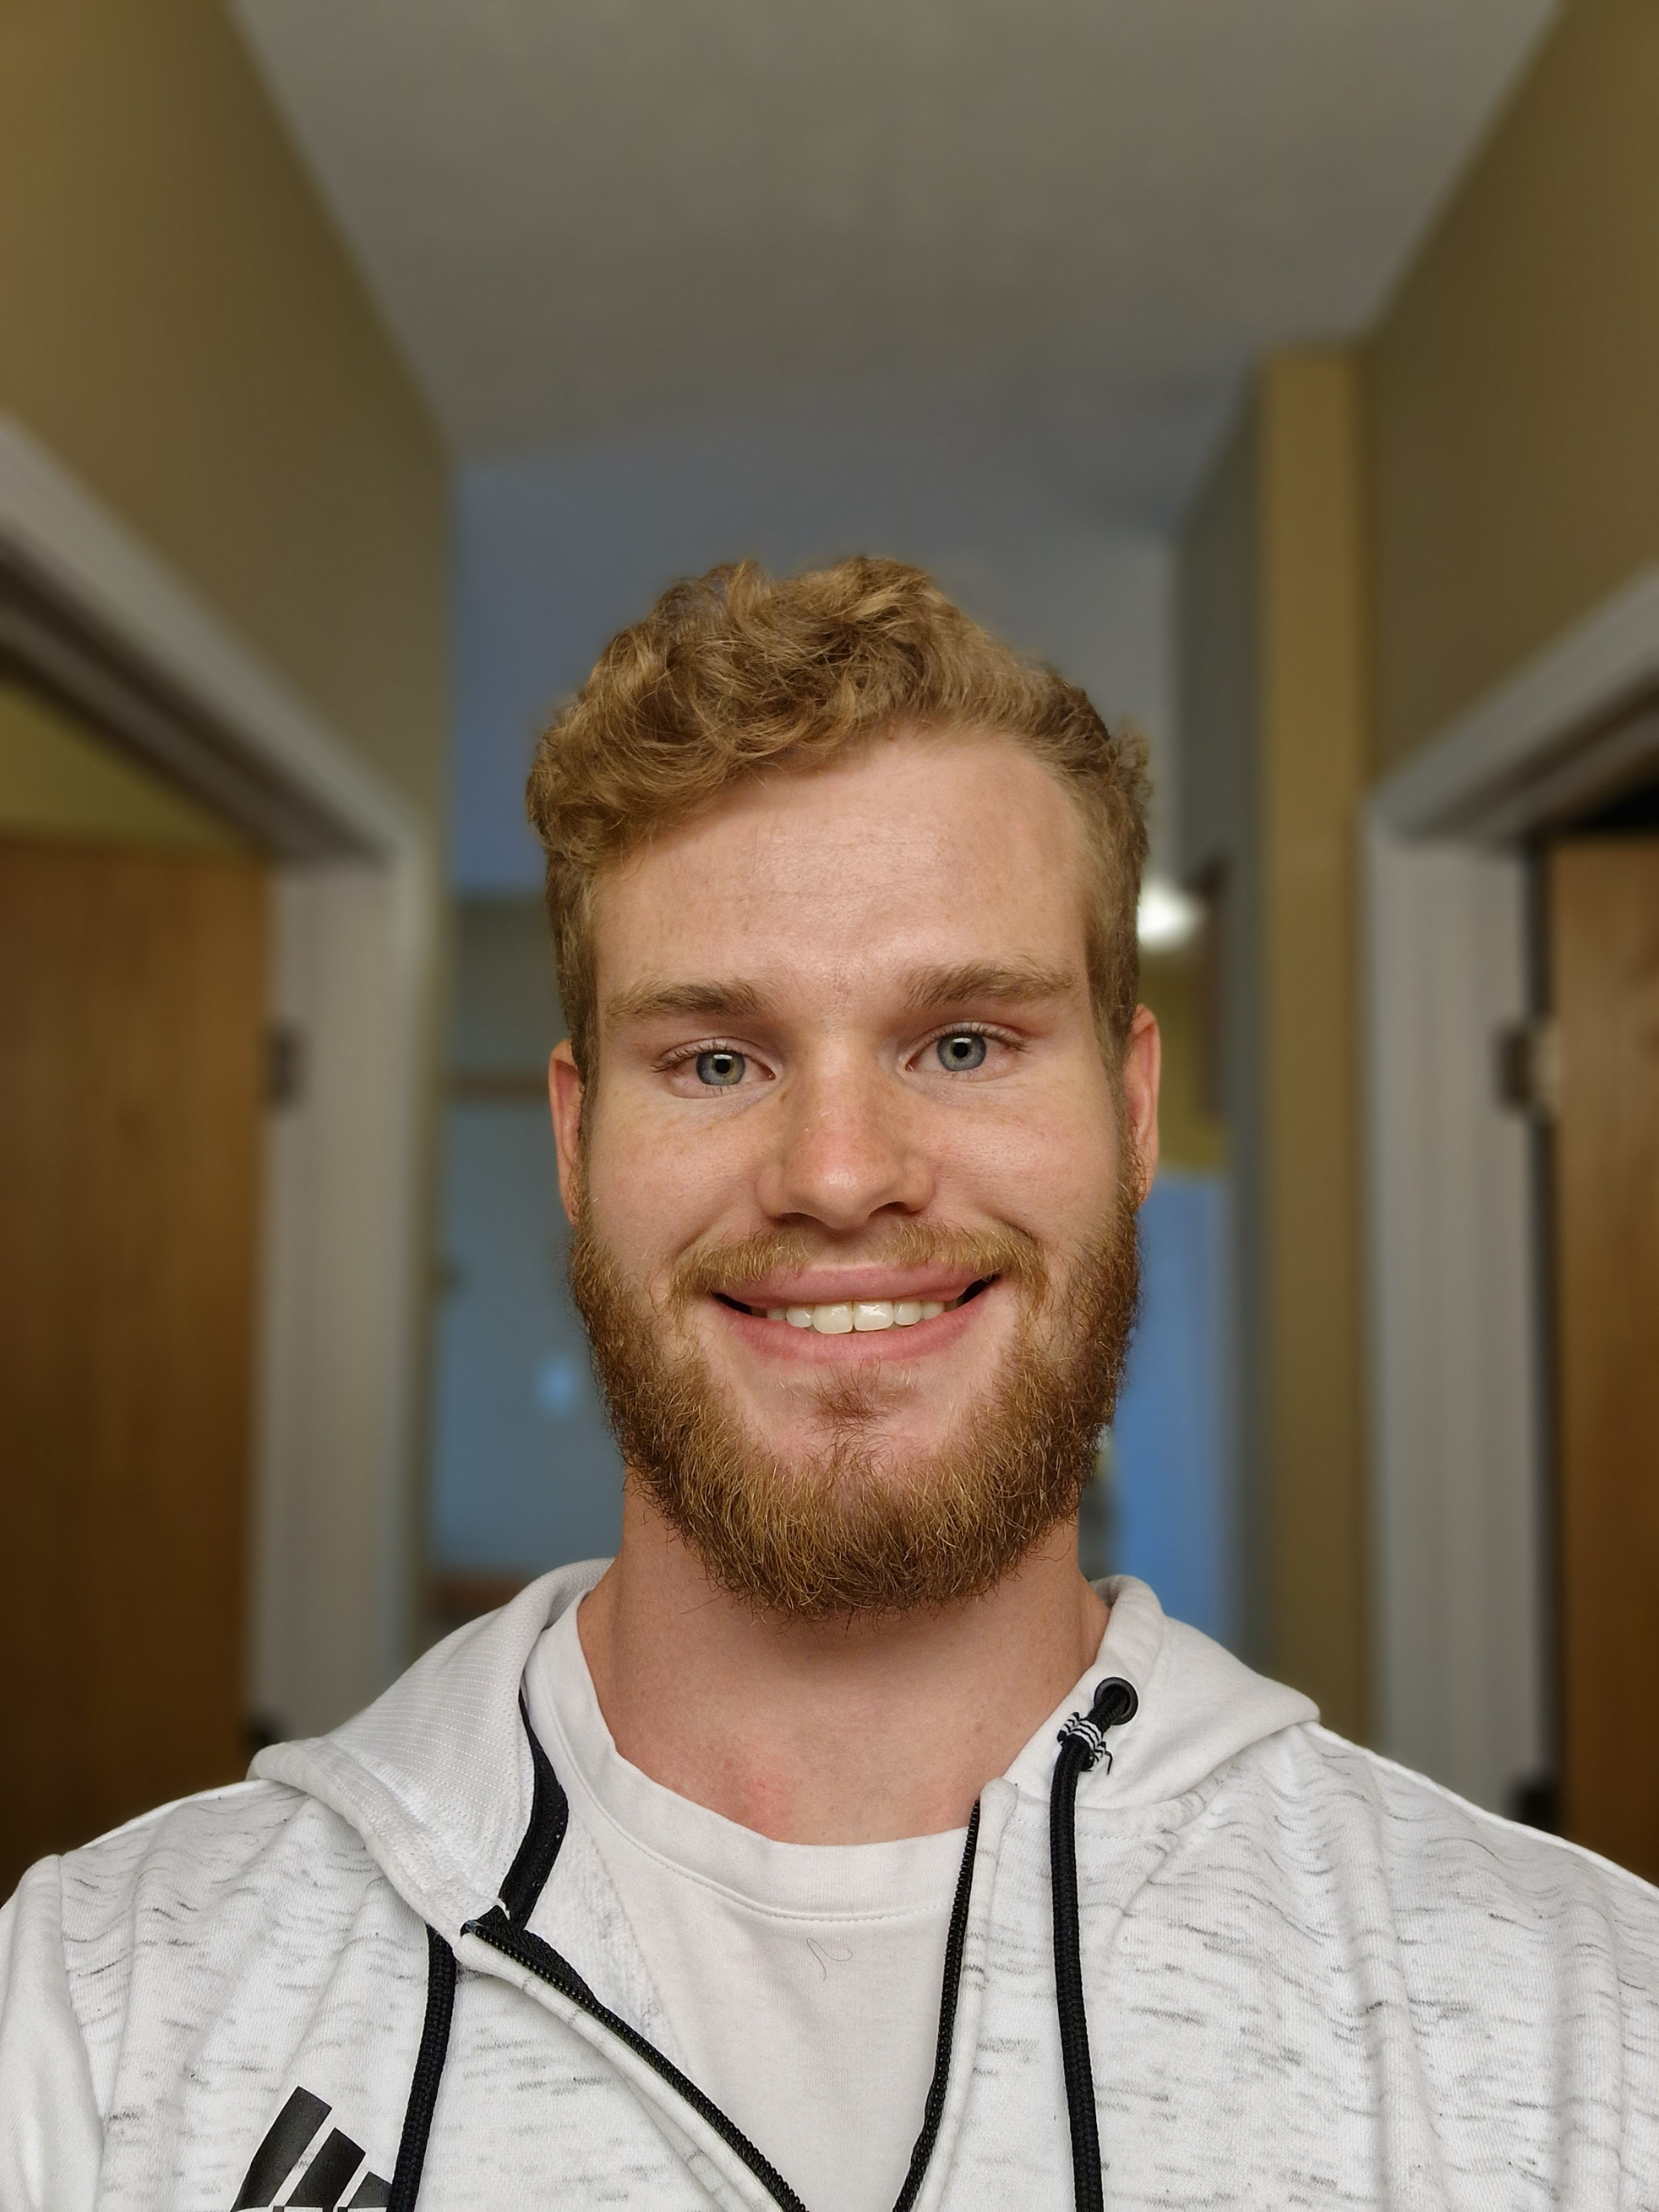
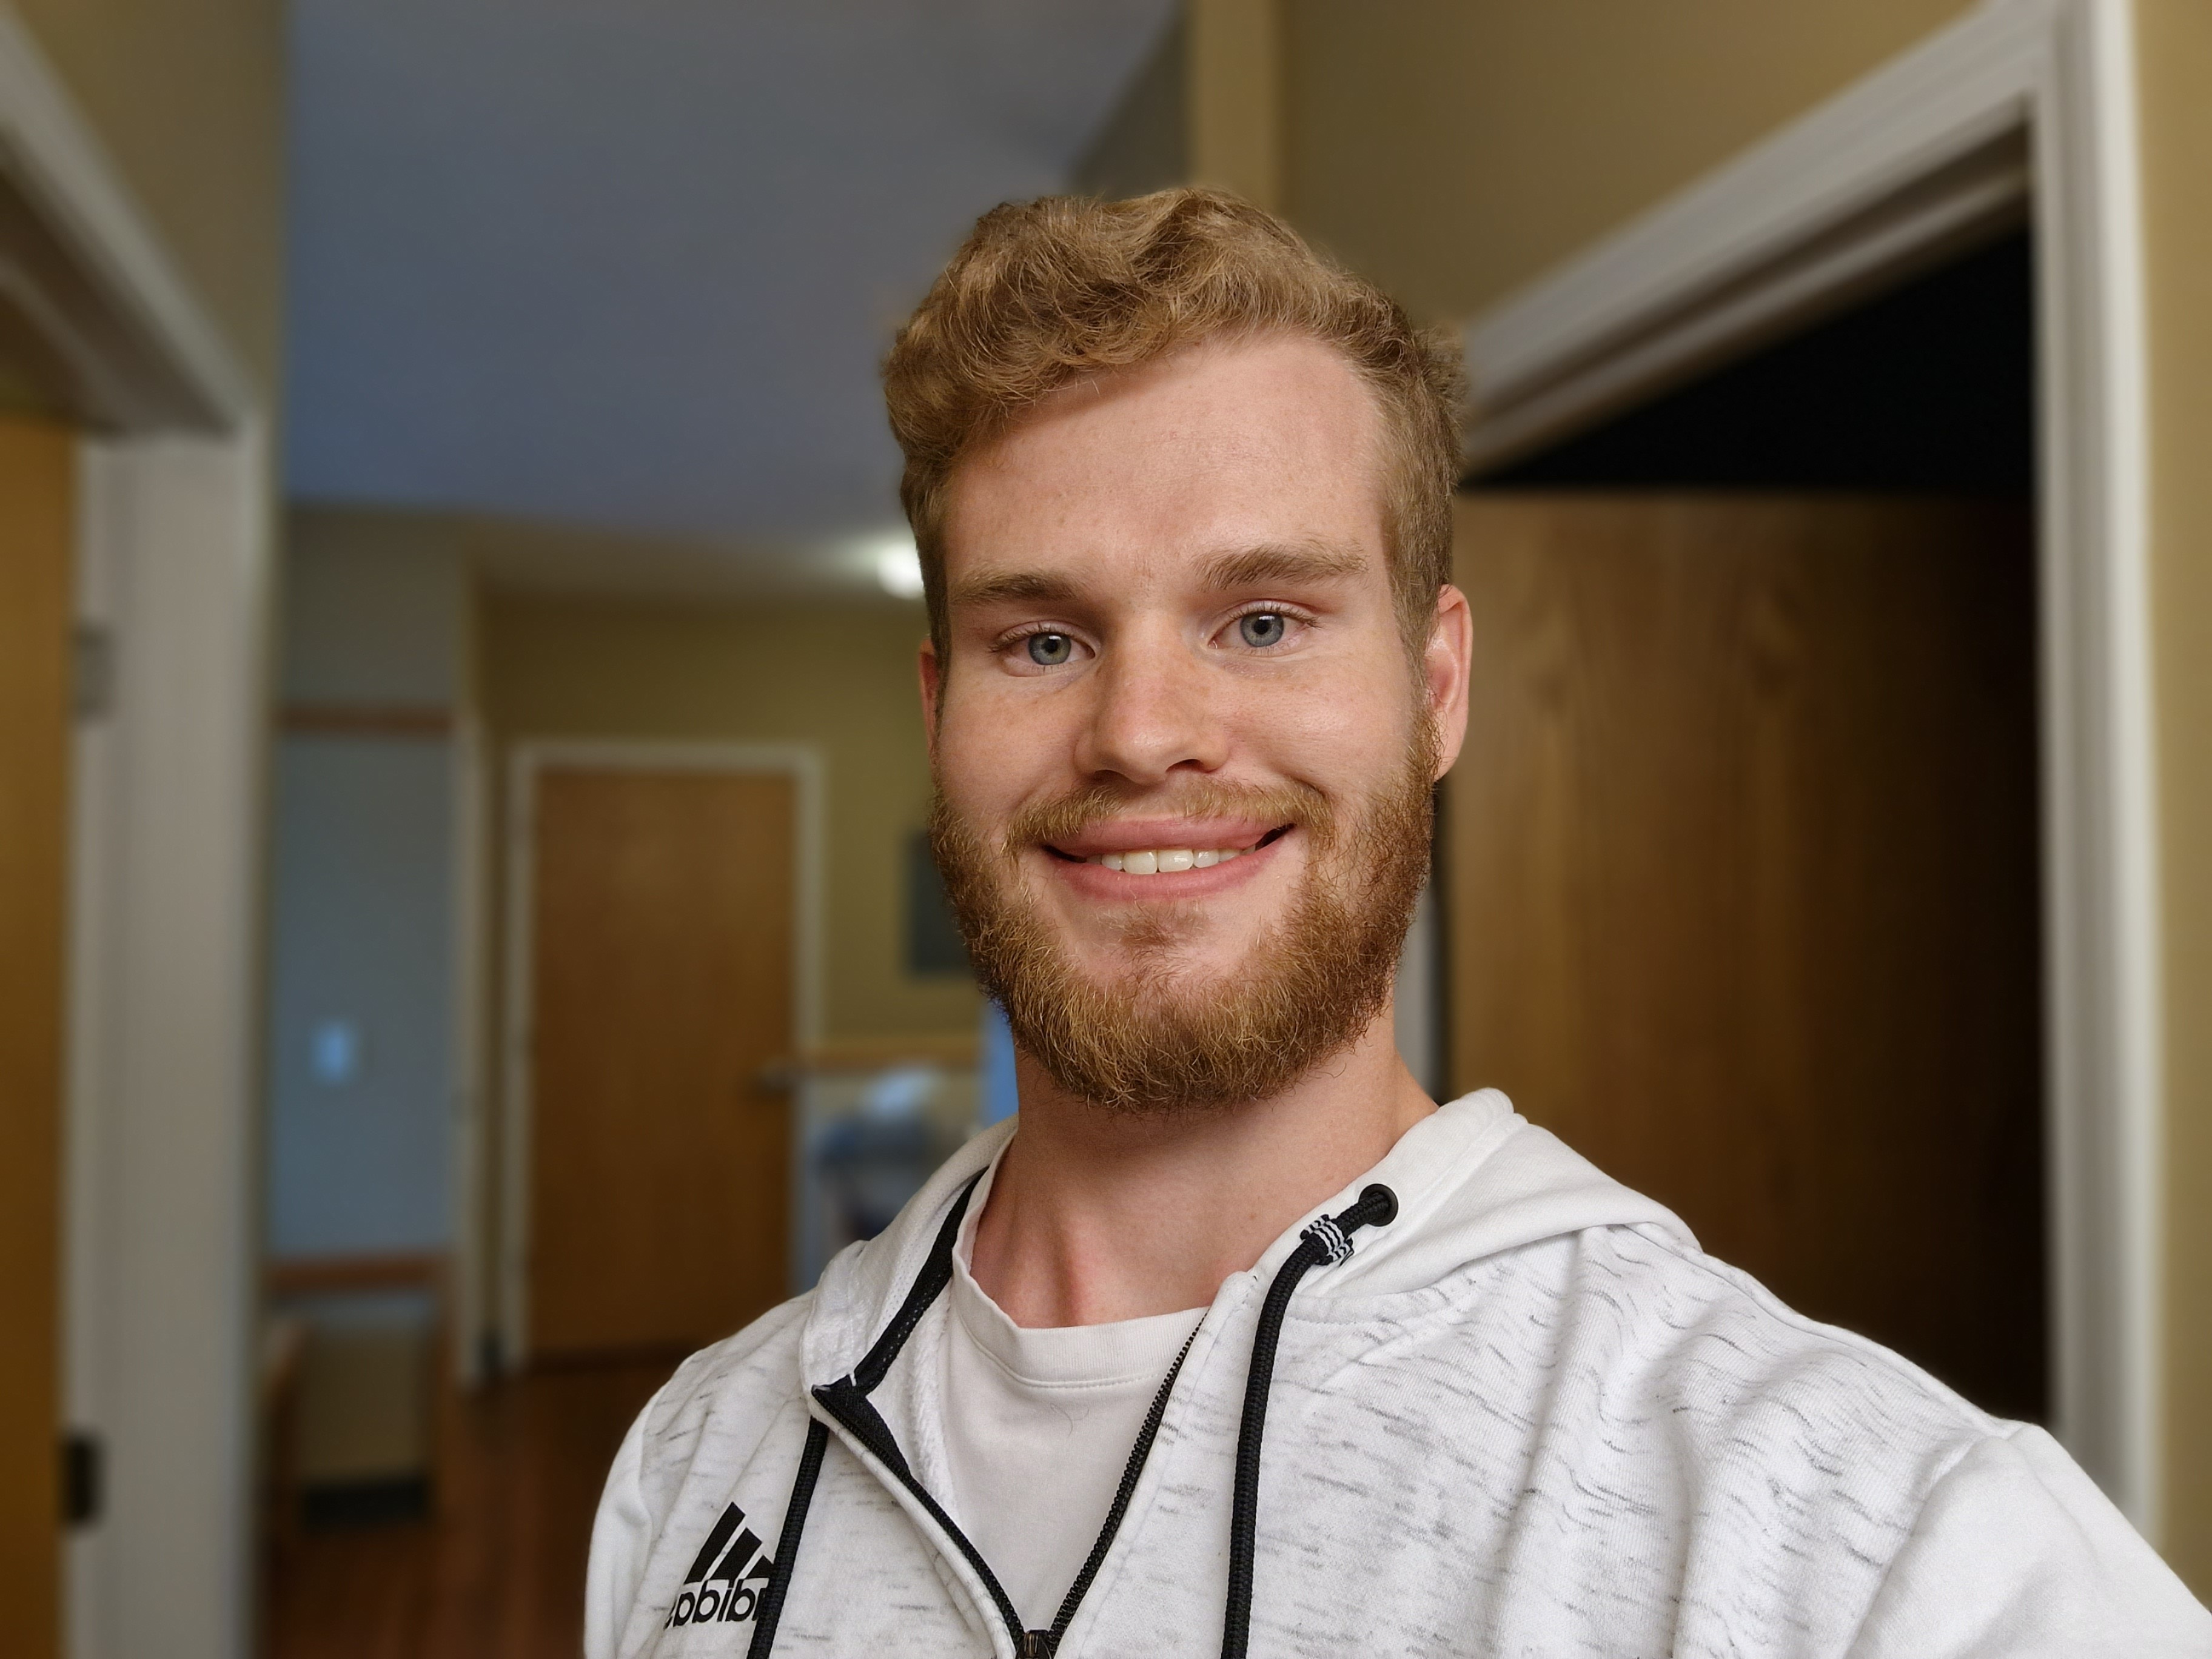
Here are some of the images I put into the app:
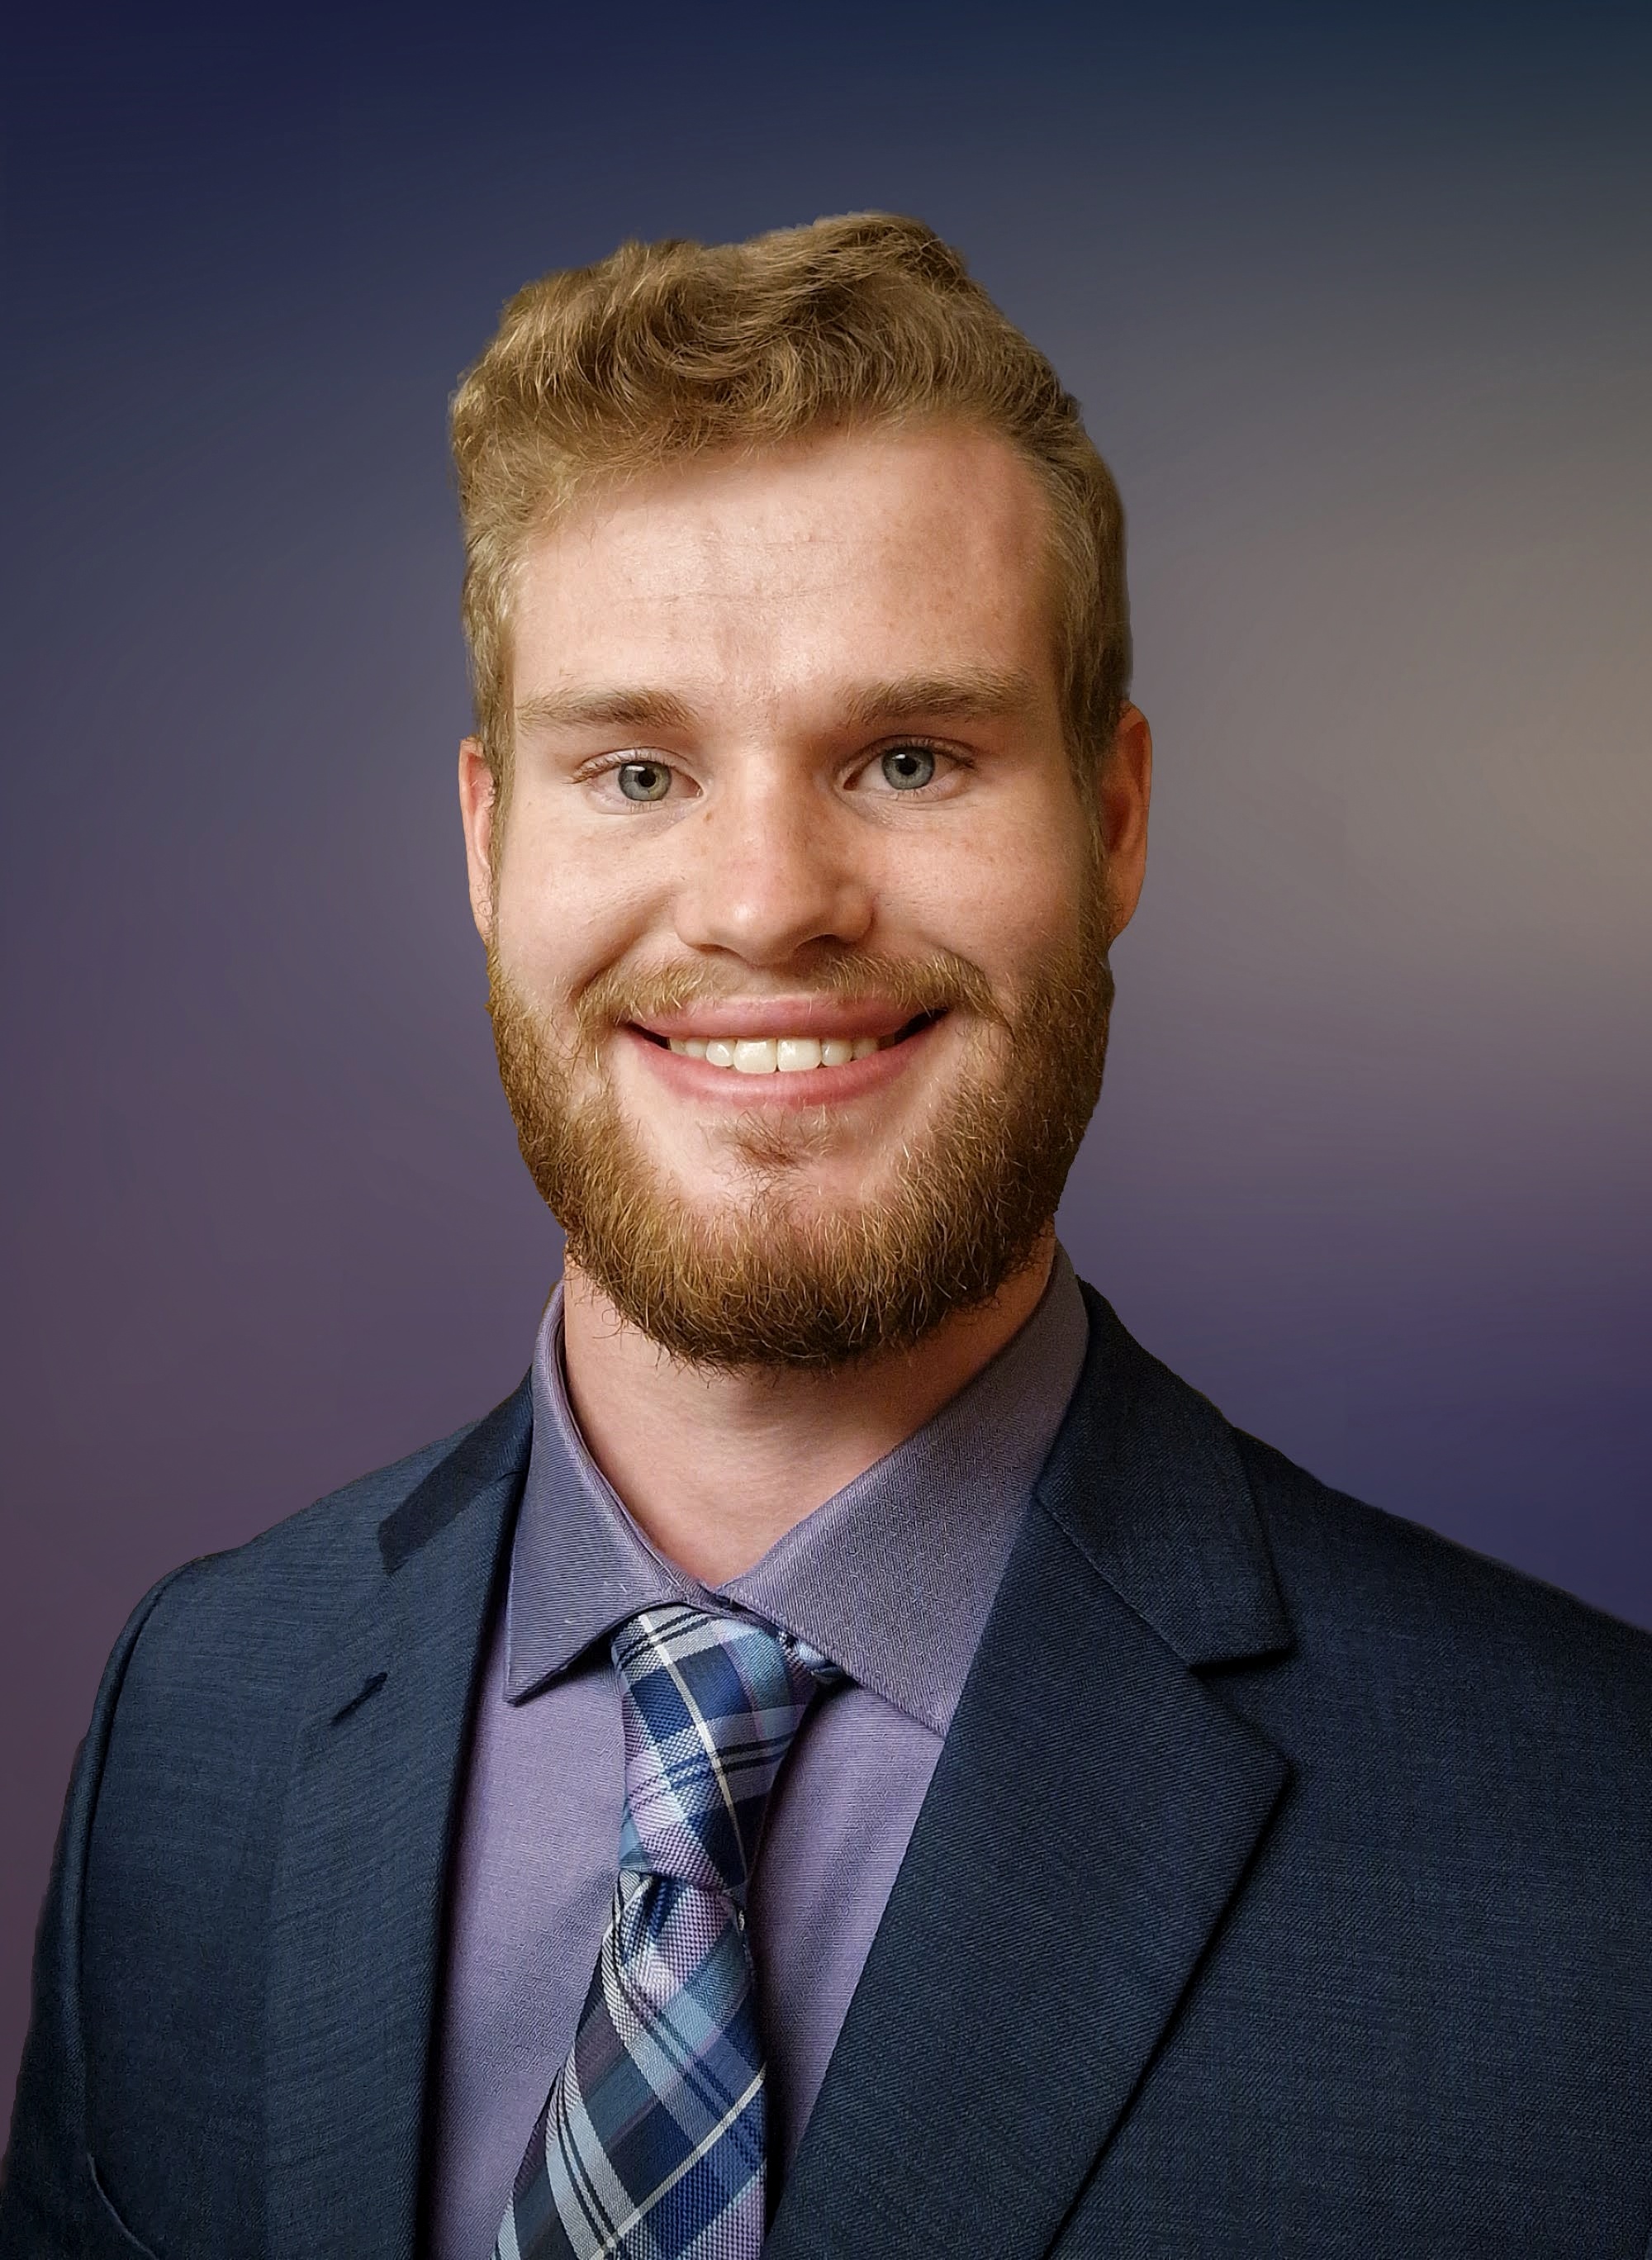
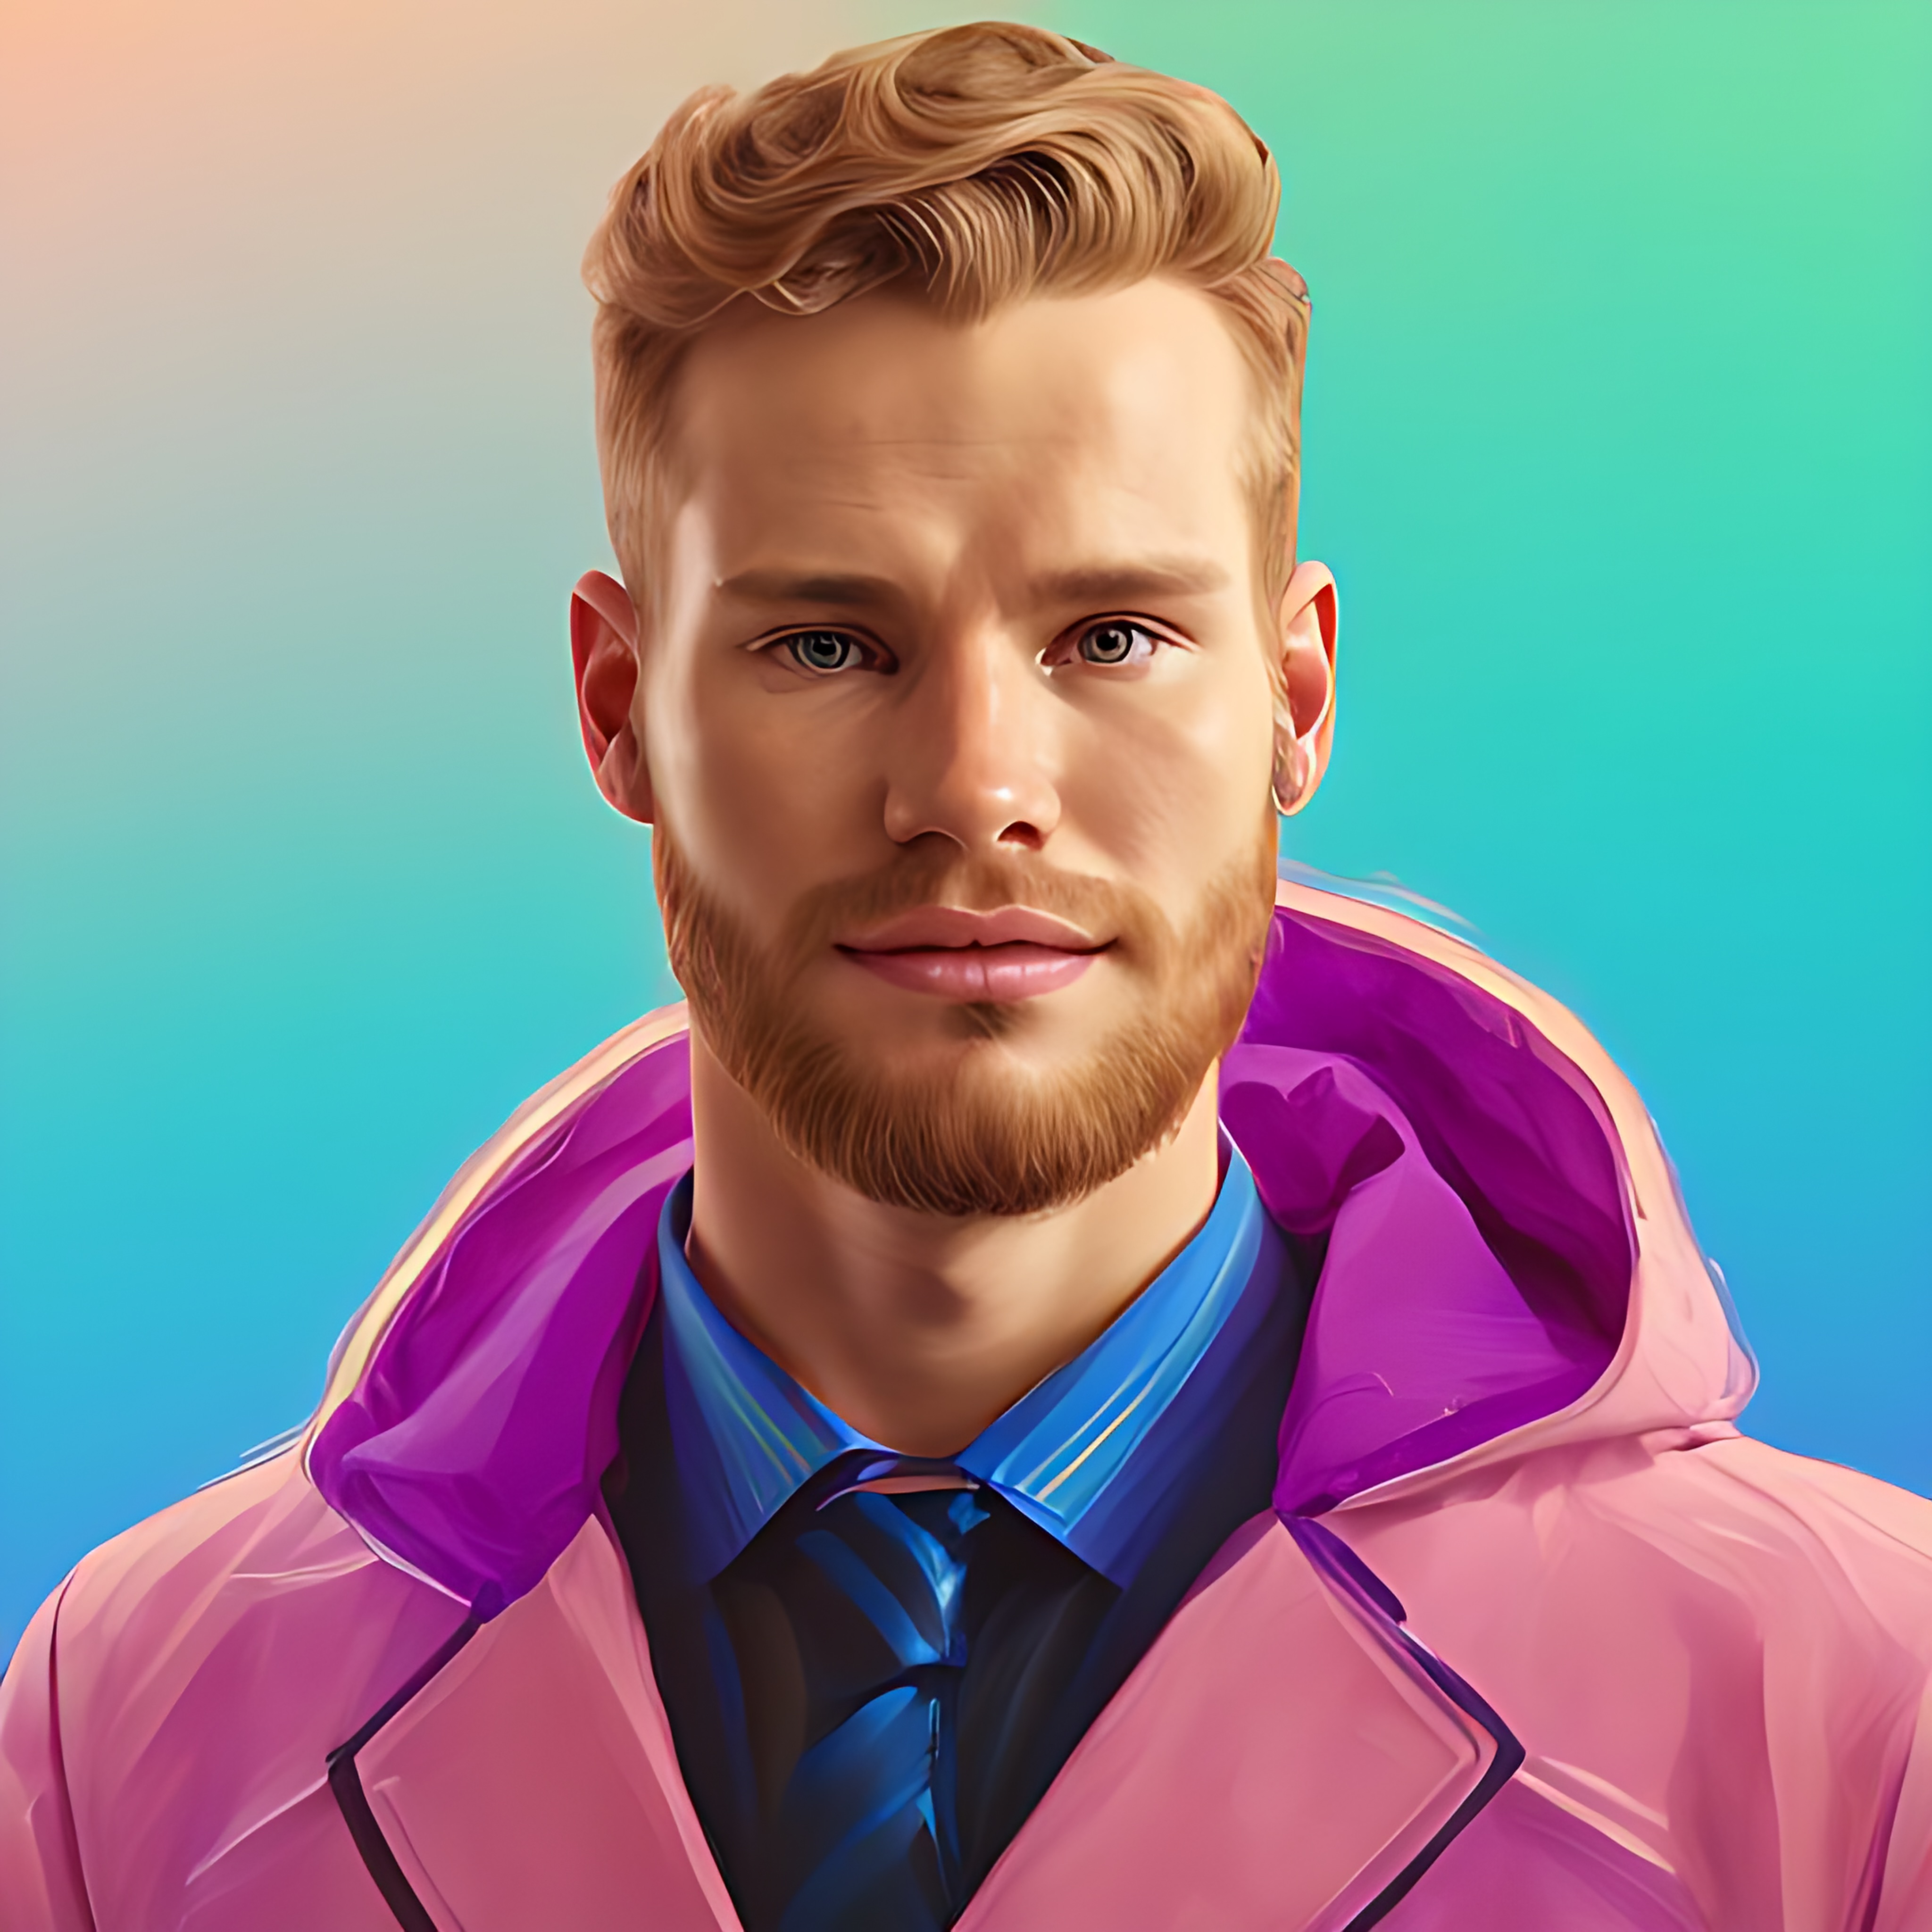
After waiting 30 minutes, Lensa returned the generated images. Here are some of my favorites:


2. Midjourney
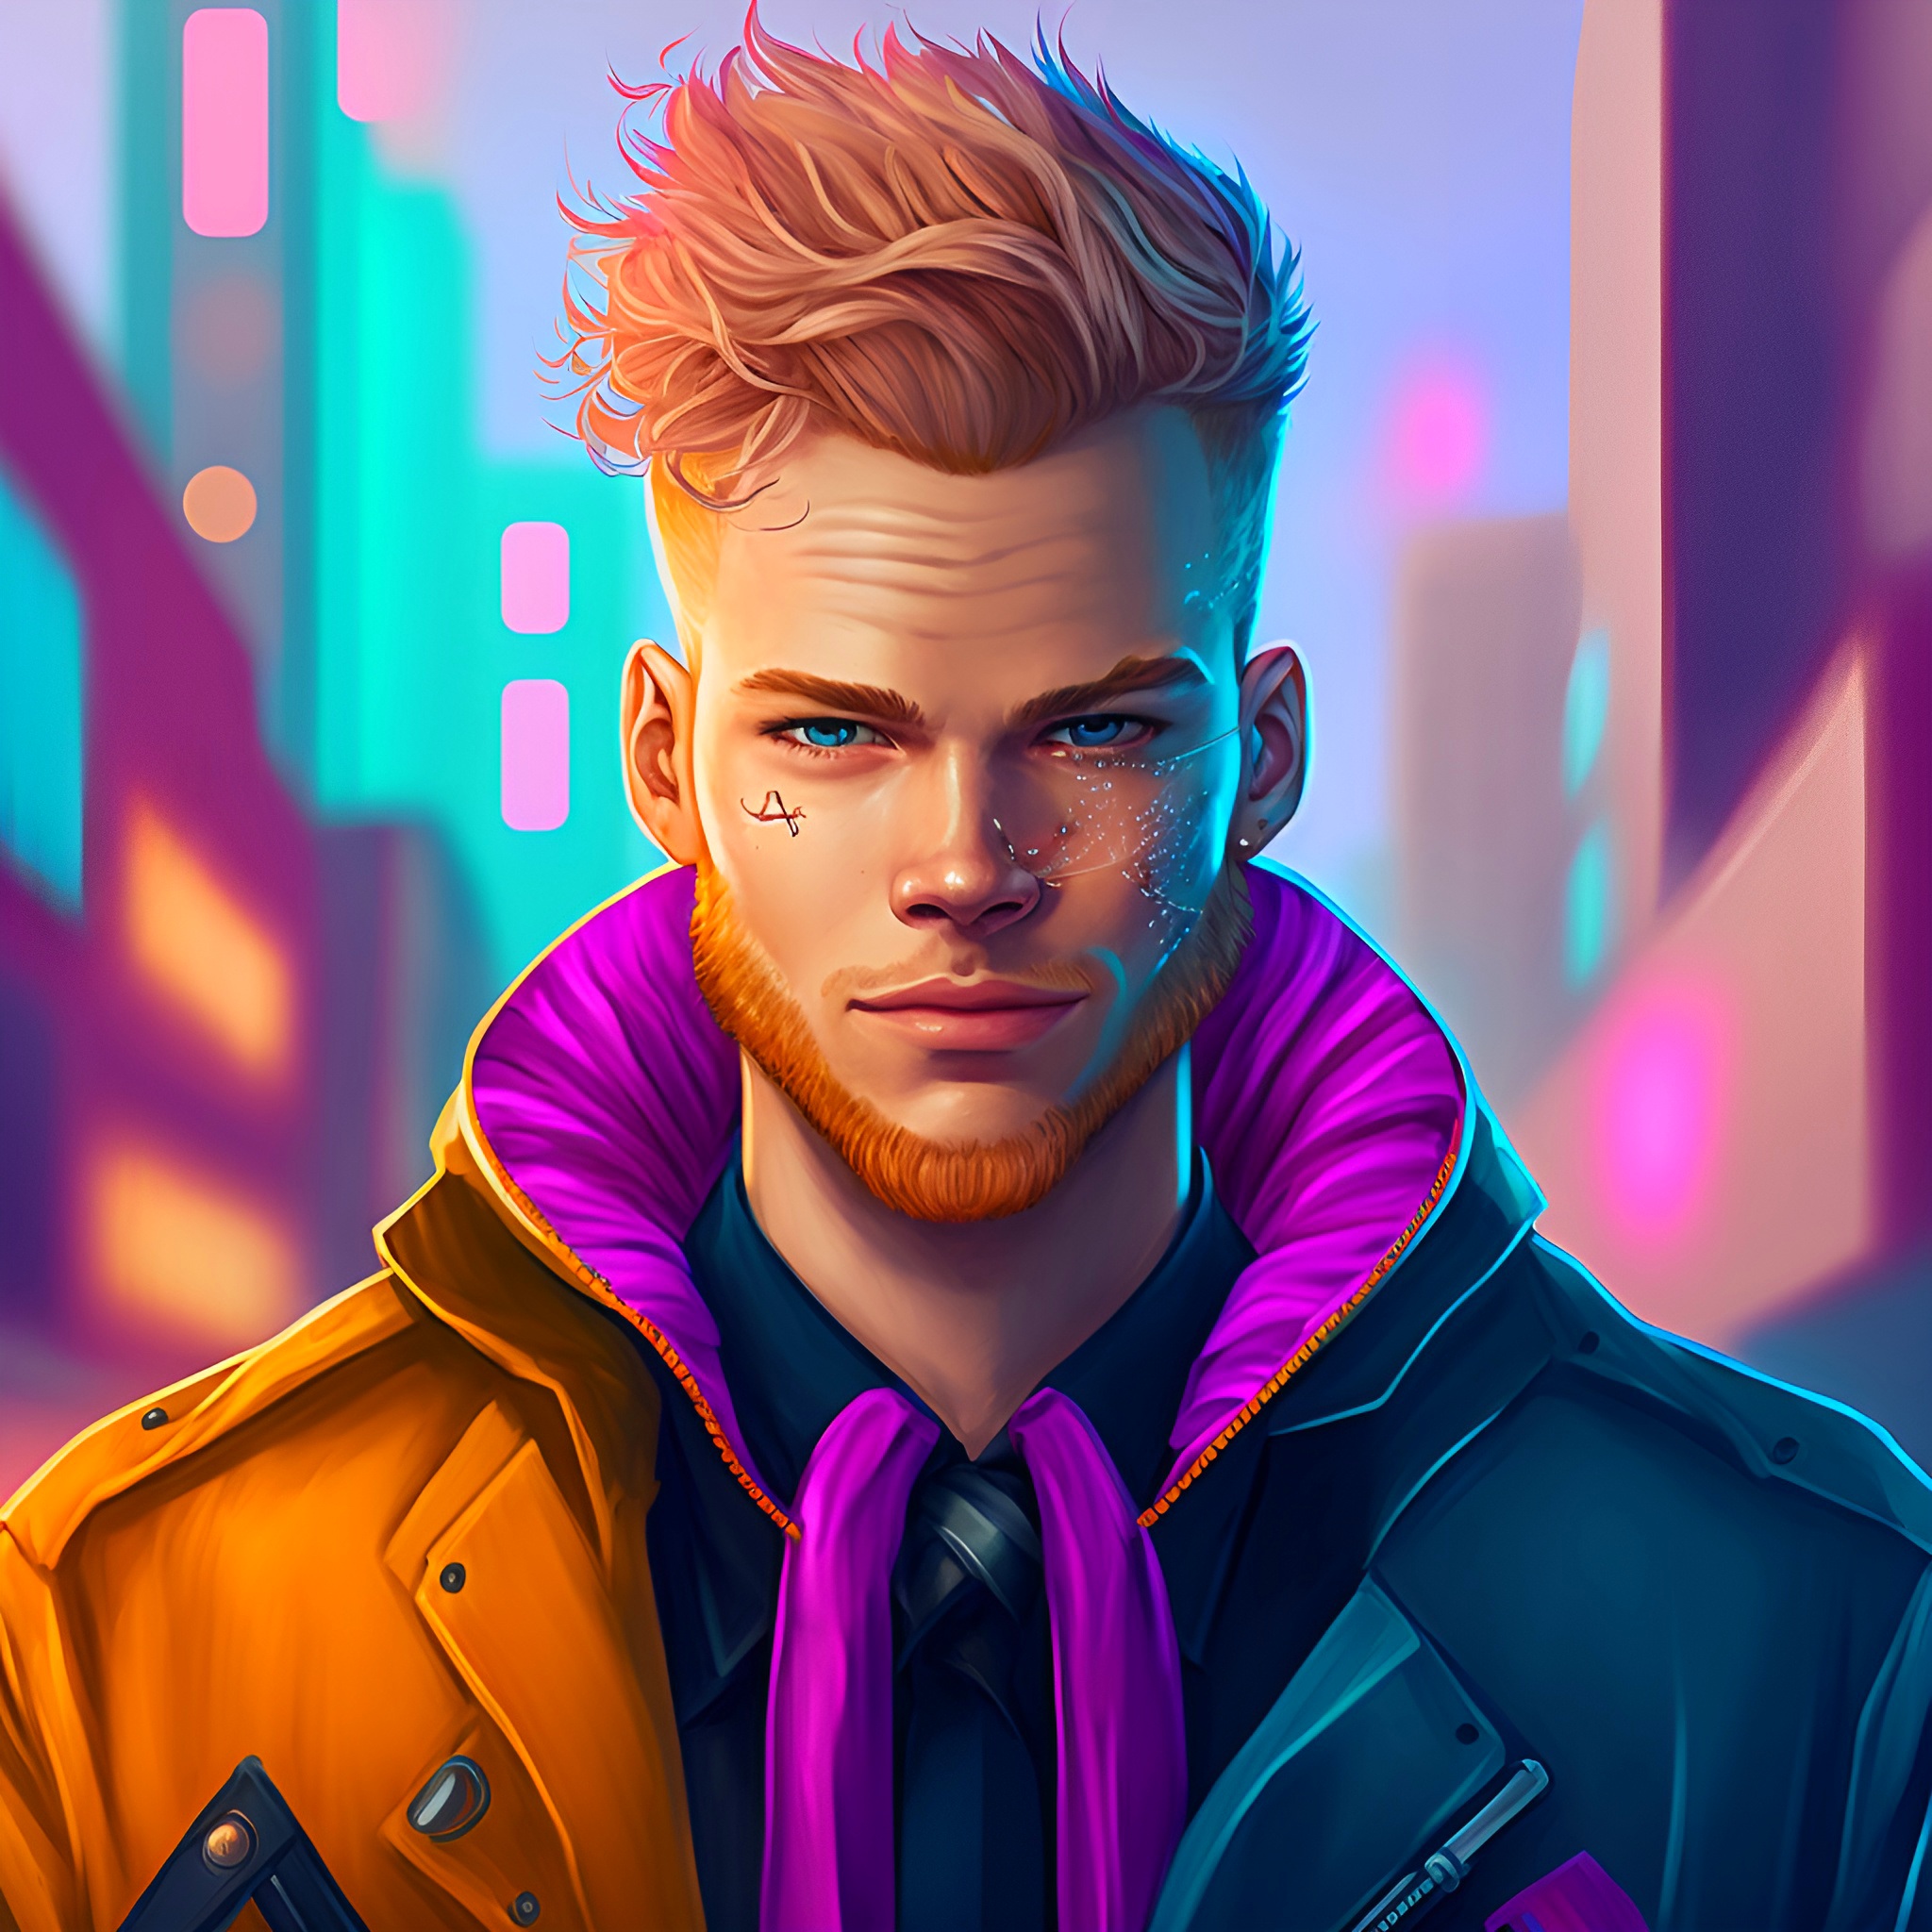
Using the 2nd image from Lensa in an image-to-image prompt, I generated this image with the following prompt:
3. Leonardo
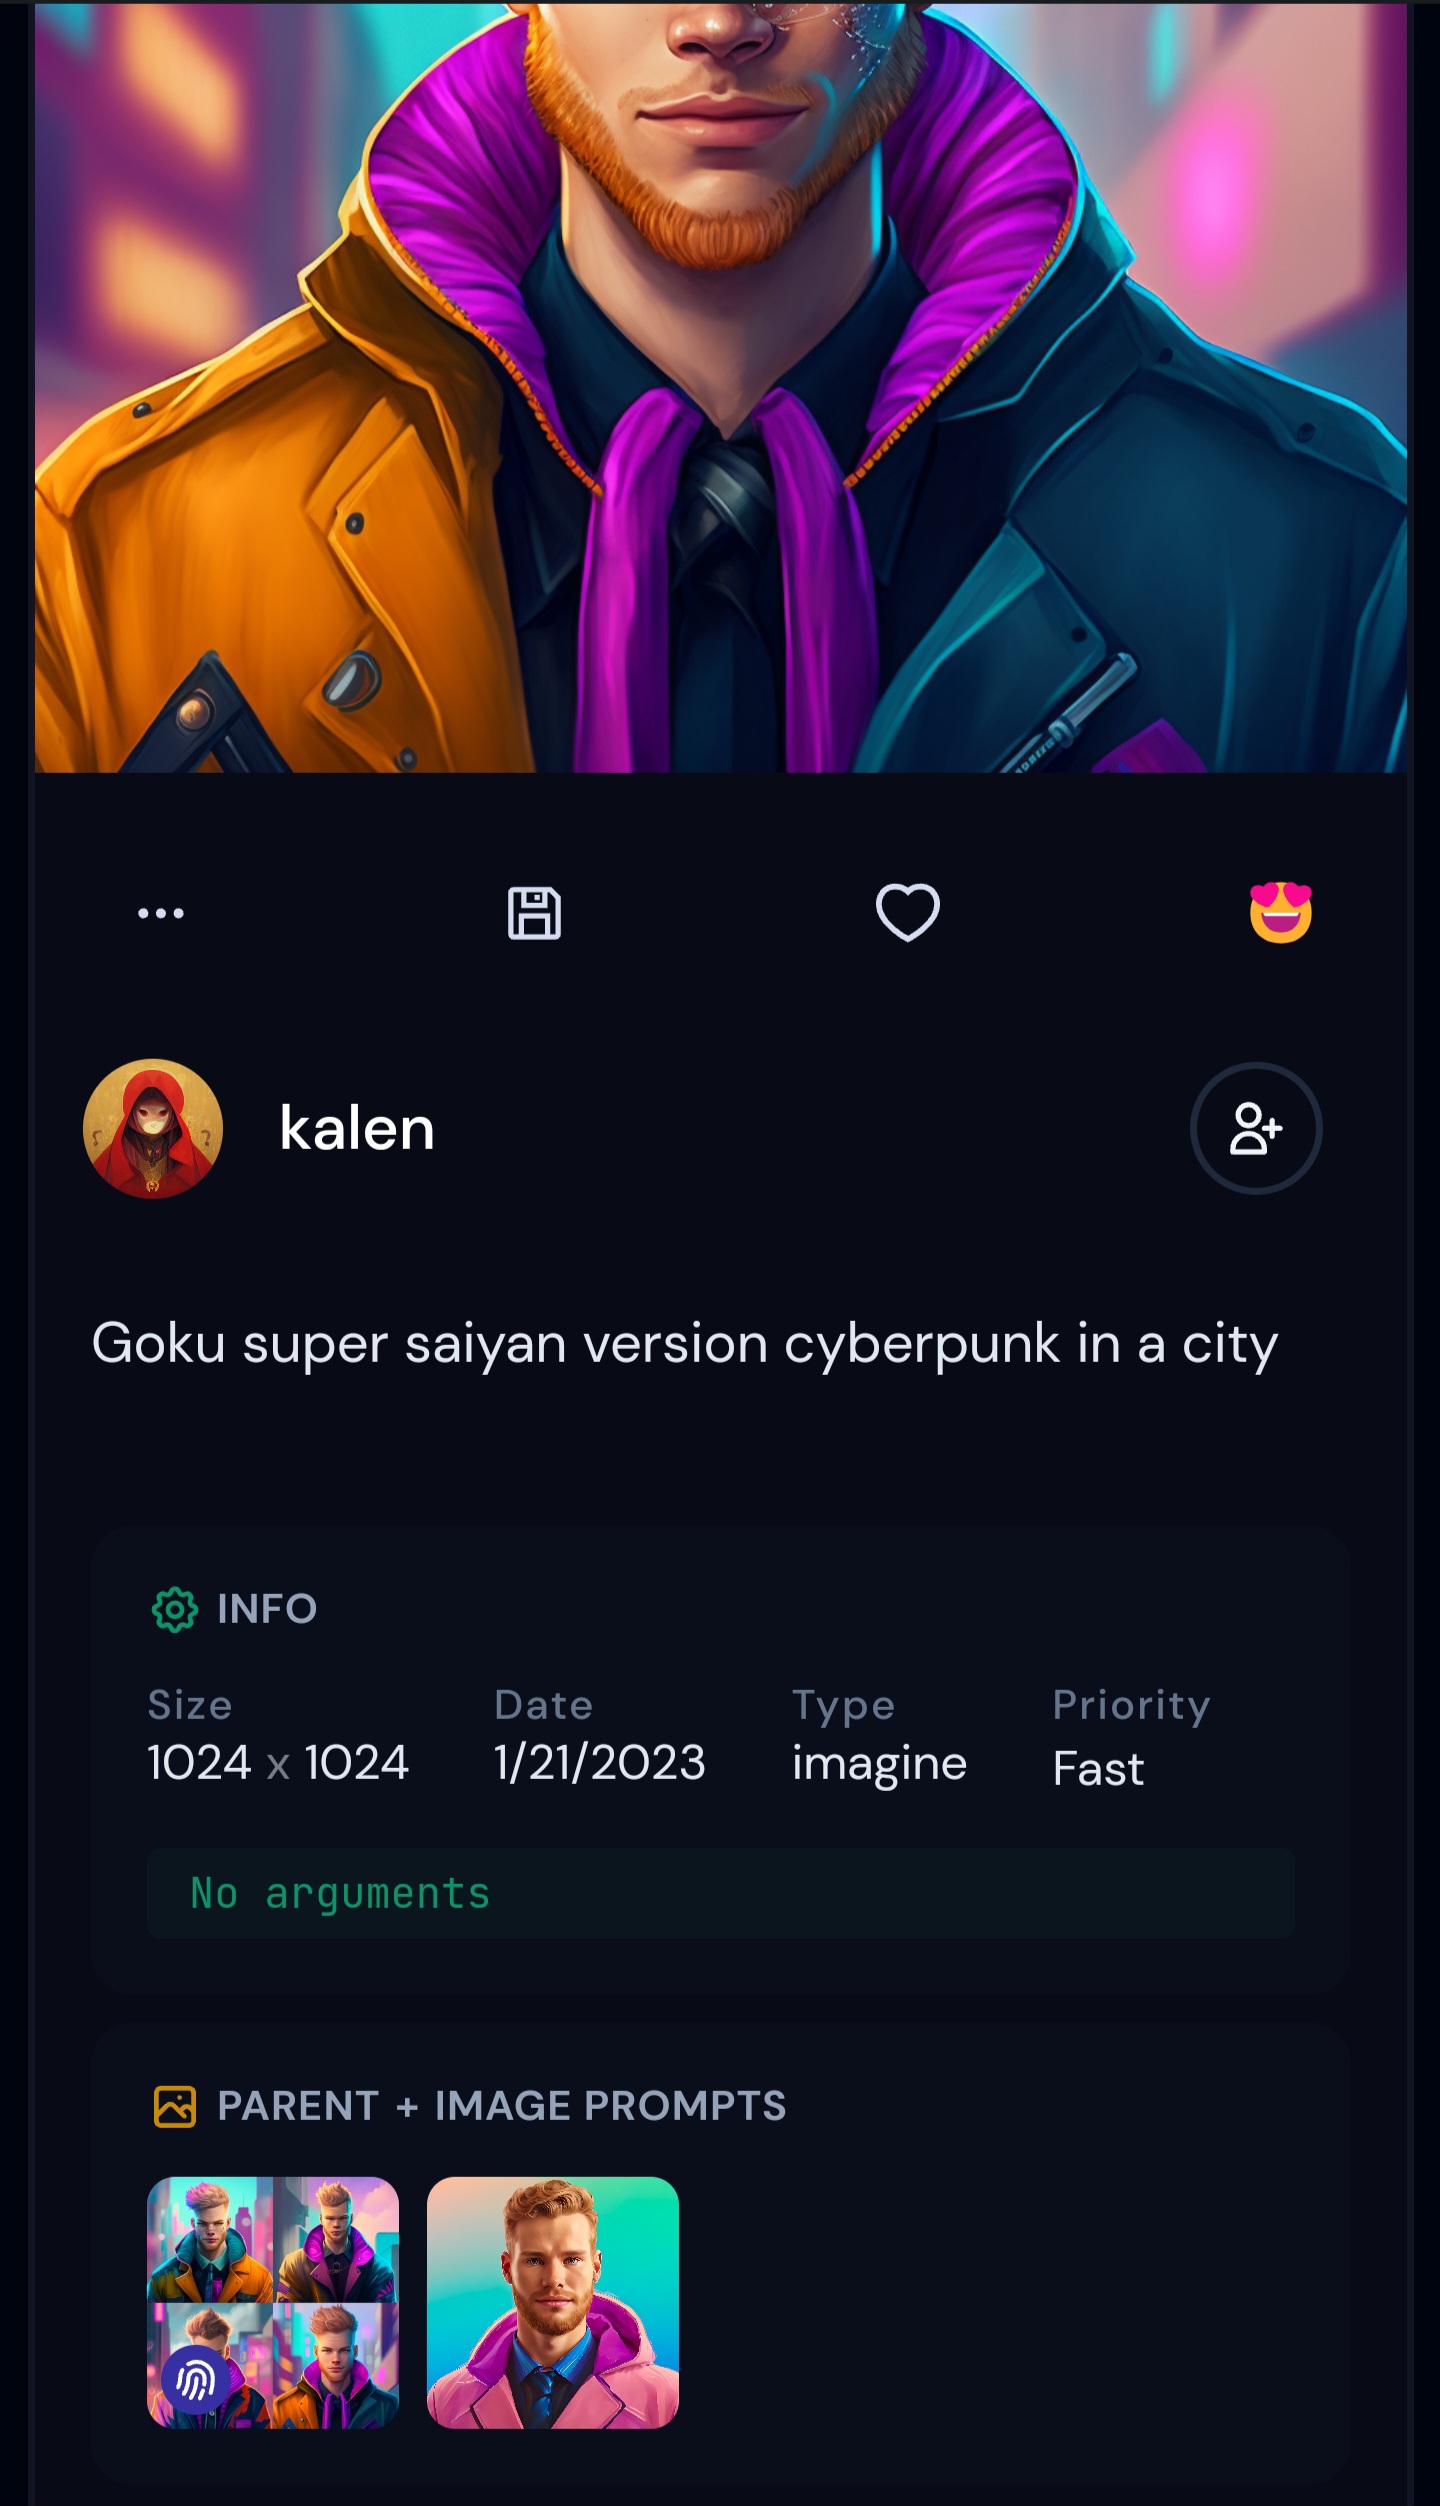
I imported the image from Midjourney into Leonardo’s Canvas tool to generate a background, using the prompt “Cyberpunk background” and the following settings:
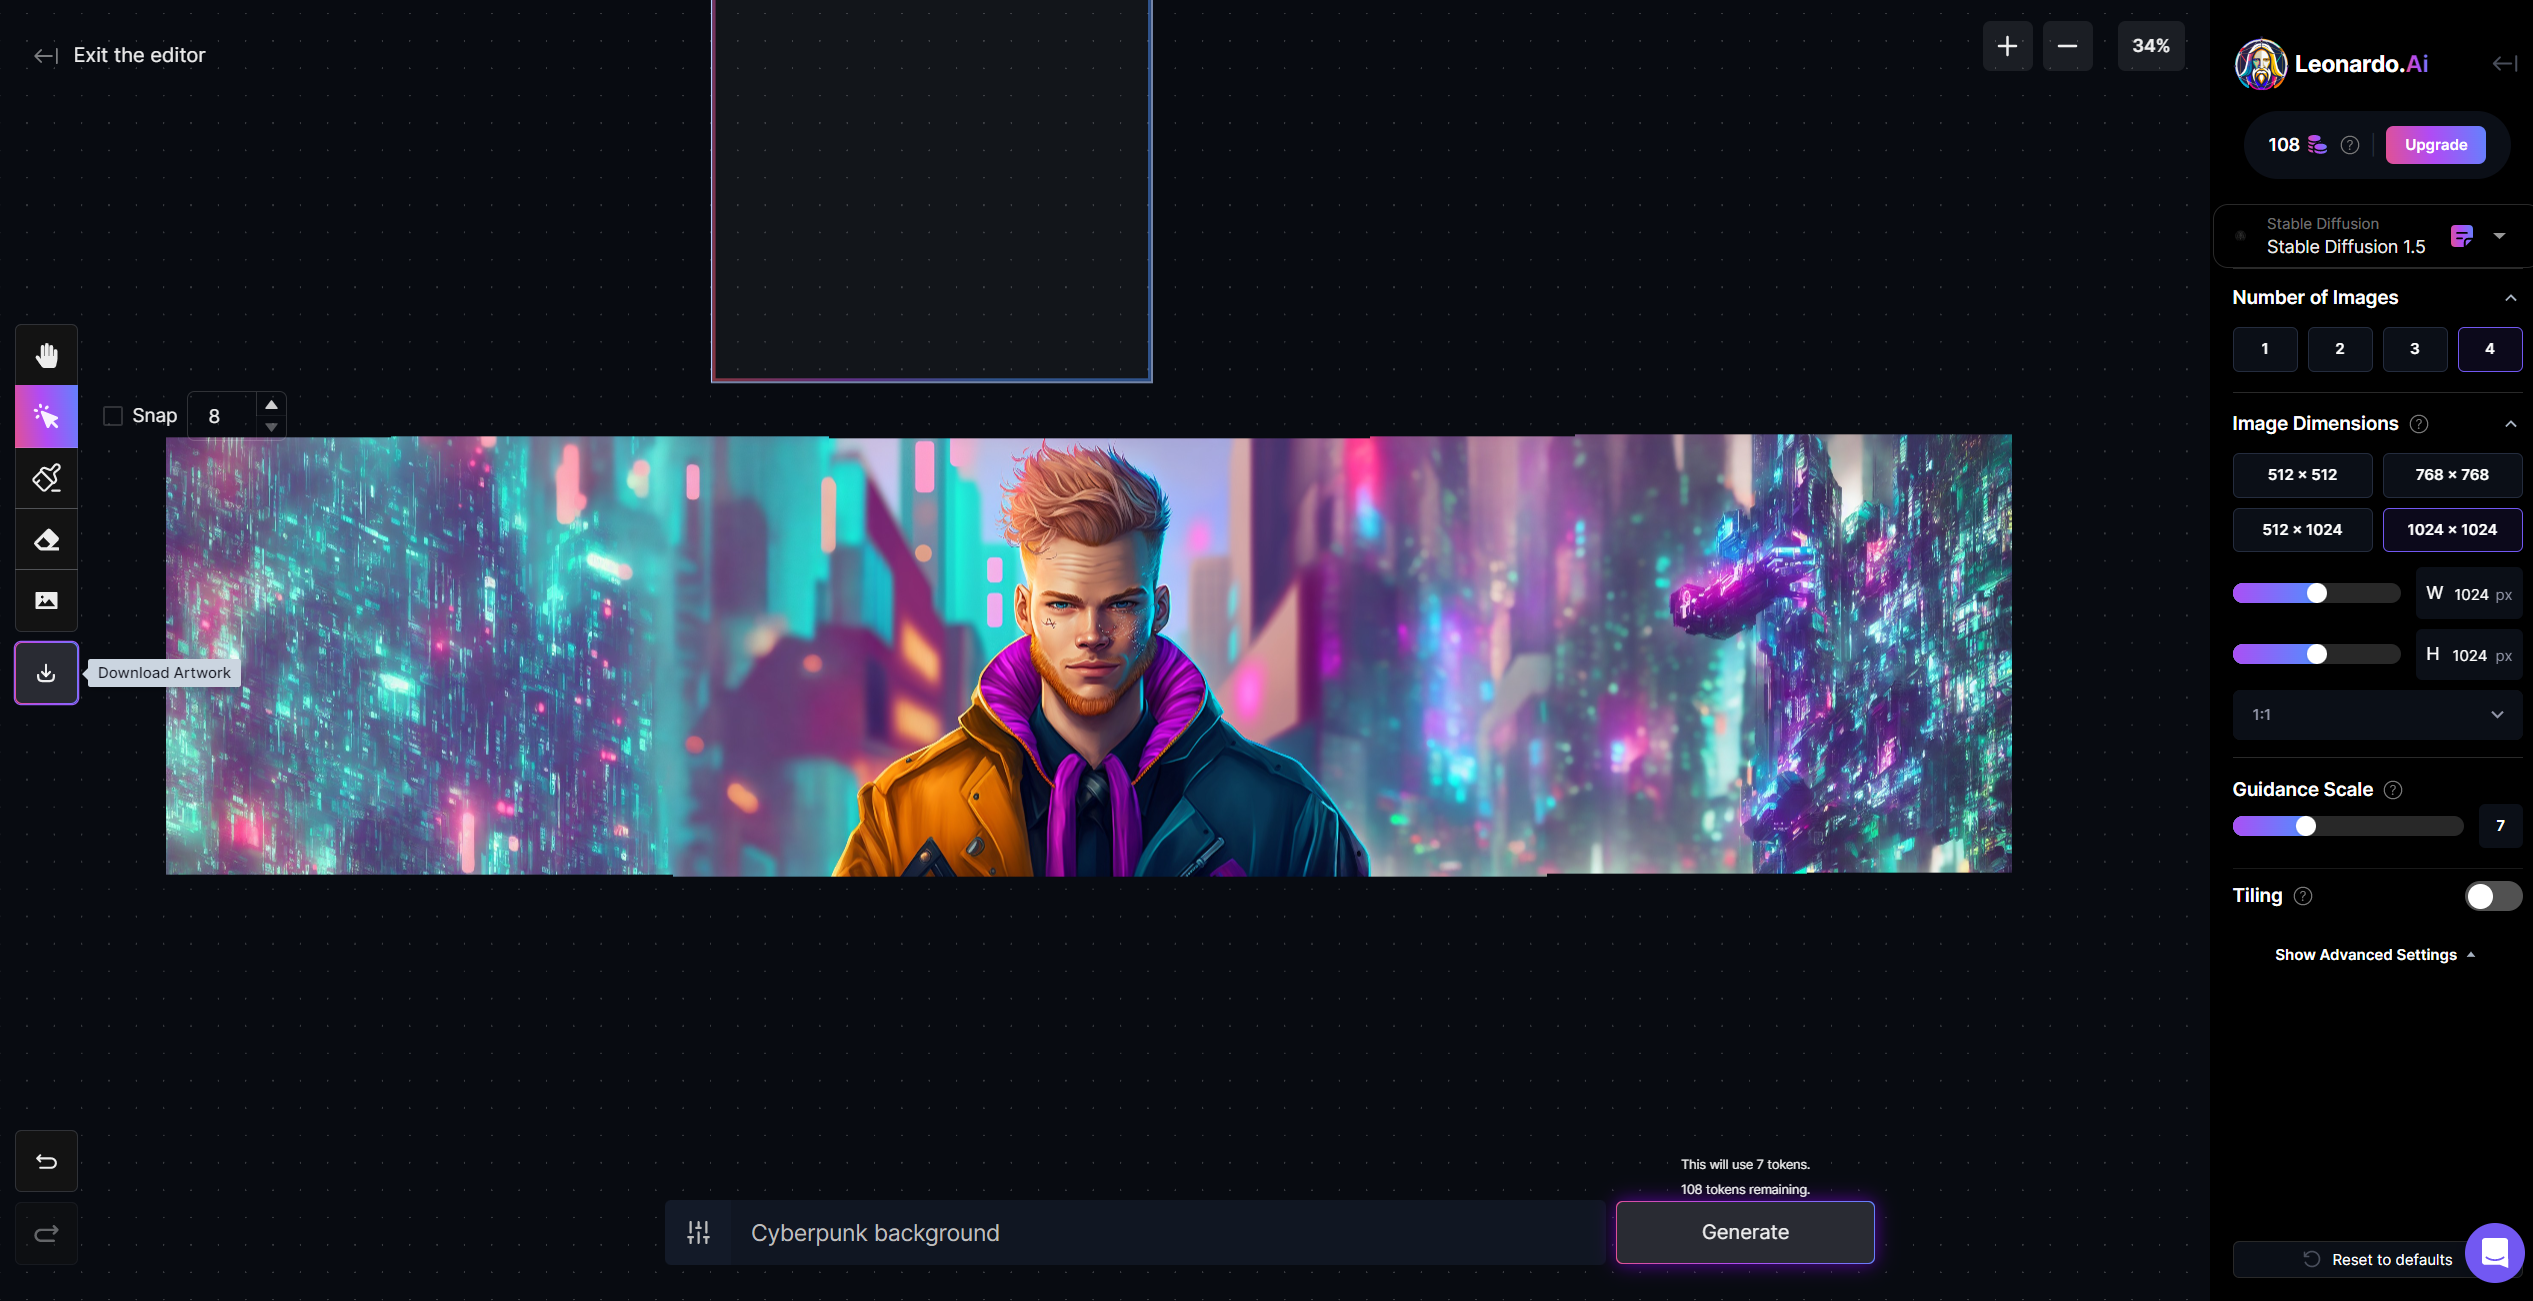
With 6 iterations, 3 on each side and 4 images per iteration, I was able to make an abstract cyberpunk esque background to display on my portfolio with only 24 images.
Overall, this process started in December 2022 and I finished it in March 2023. Although, the ideas and different tools came over time. If I were to do the process over from scratch, I could probably knock something out like this in under 2 hours.
baldorf Teams Headers
When making announcements in Microsoft Teams, I like to design custom header images. It makes the post more fun and gives an overall higher quality feel to the project.
The tools I usually use are
- Midjourney or Leonardo Images: To generate new characters based on old images.
- Mokker: To put a generated character into a new environment.
- Leonardo Canvas: To extend the background of a Mokker environment.
Some of my early work used Midjourney, however using Midjourney can get quite pricey. Leonardo has a generous free tier, although, it has been getting tighter lately with the huge influx of new users.
Let’s run through an example:
1. Midjourney
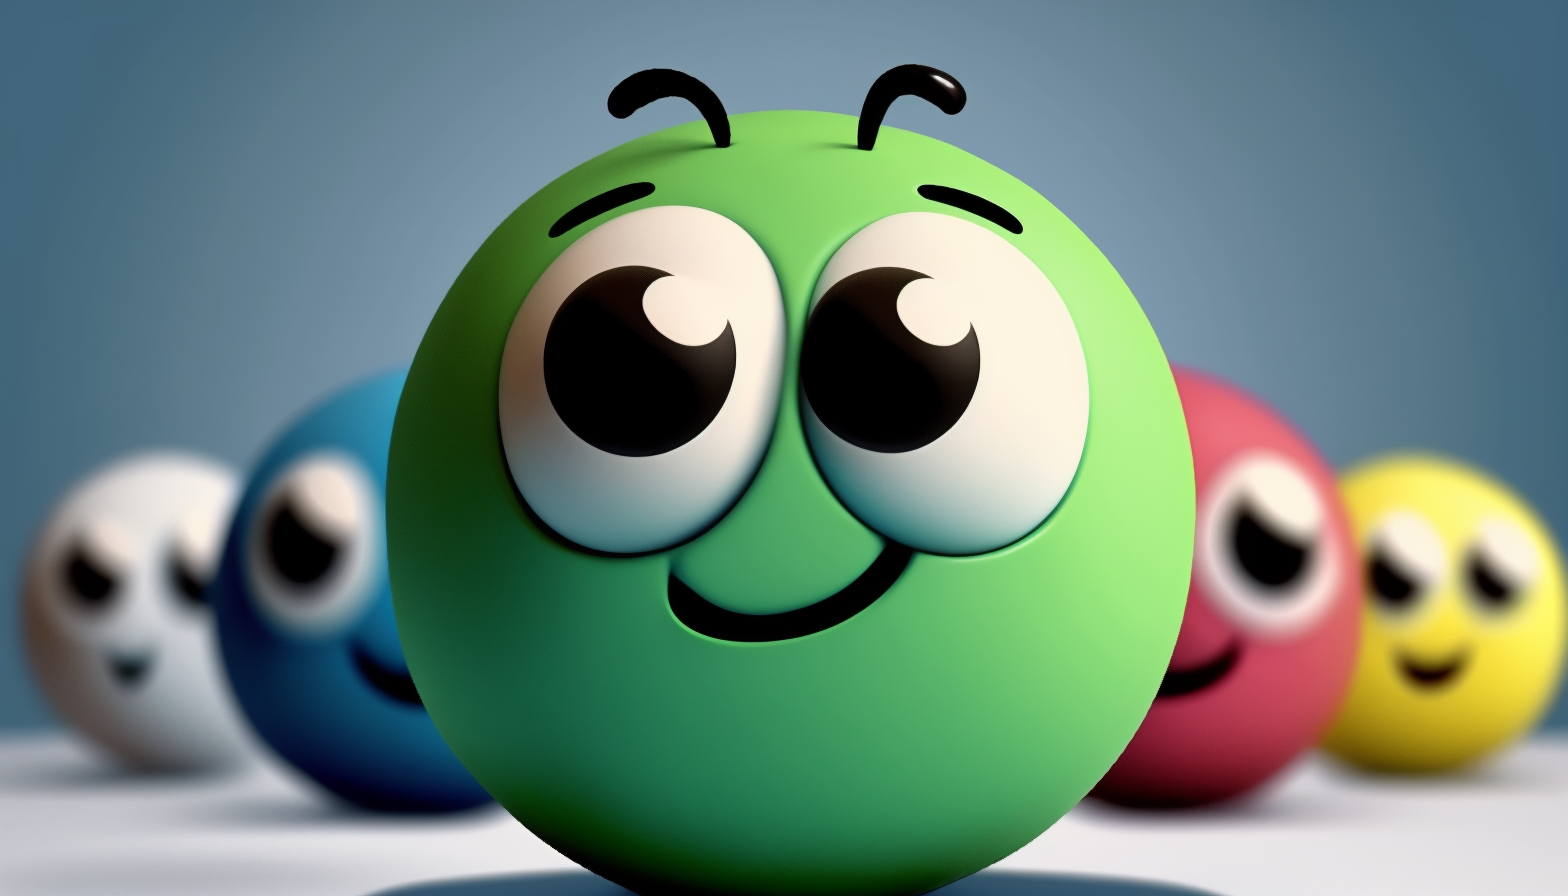
The first image is the original image I used in Midjourney’s image to image system. The second image is the output:


I then used this output to generate this lineup:
2. Mokker
Uploading this lineup into Mokker, resulted in the green and red characters being placed into different environments.
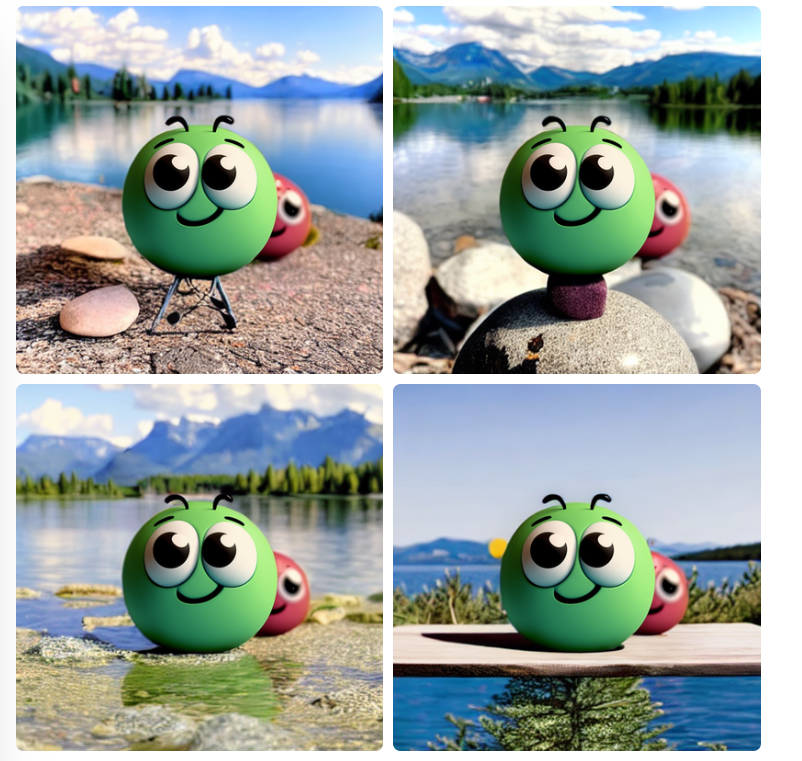
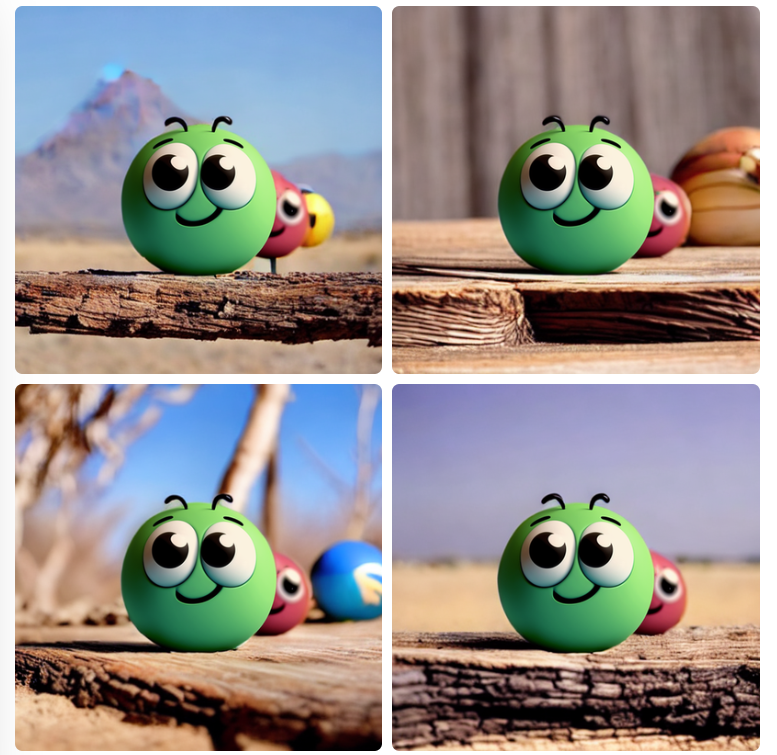
3. Leonardo Canvas
I imported some of these images into Leonardo Canvas to generate full backgrounds for them:


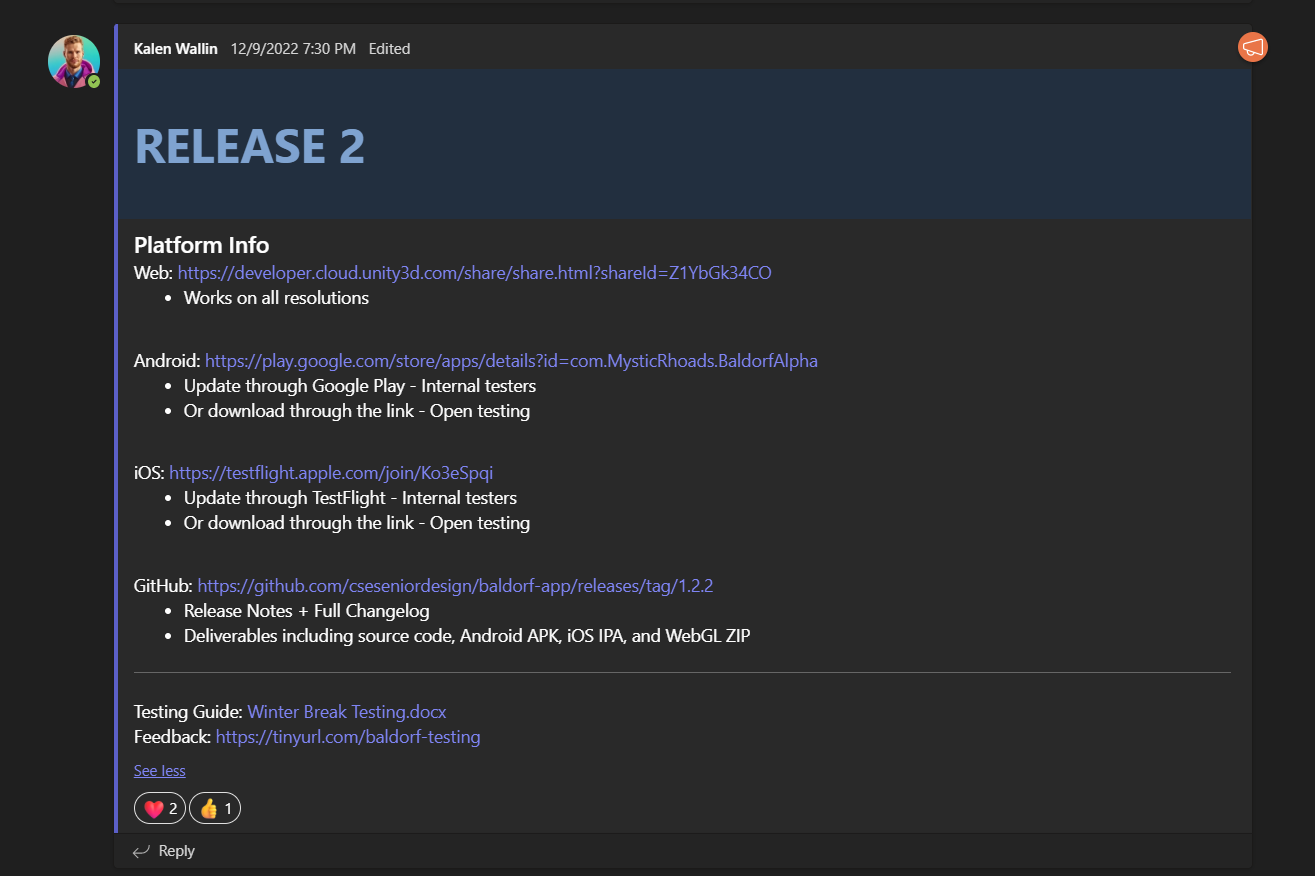
These images are what I use in Microsoft Teams Announcements. Like this one:
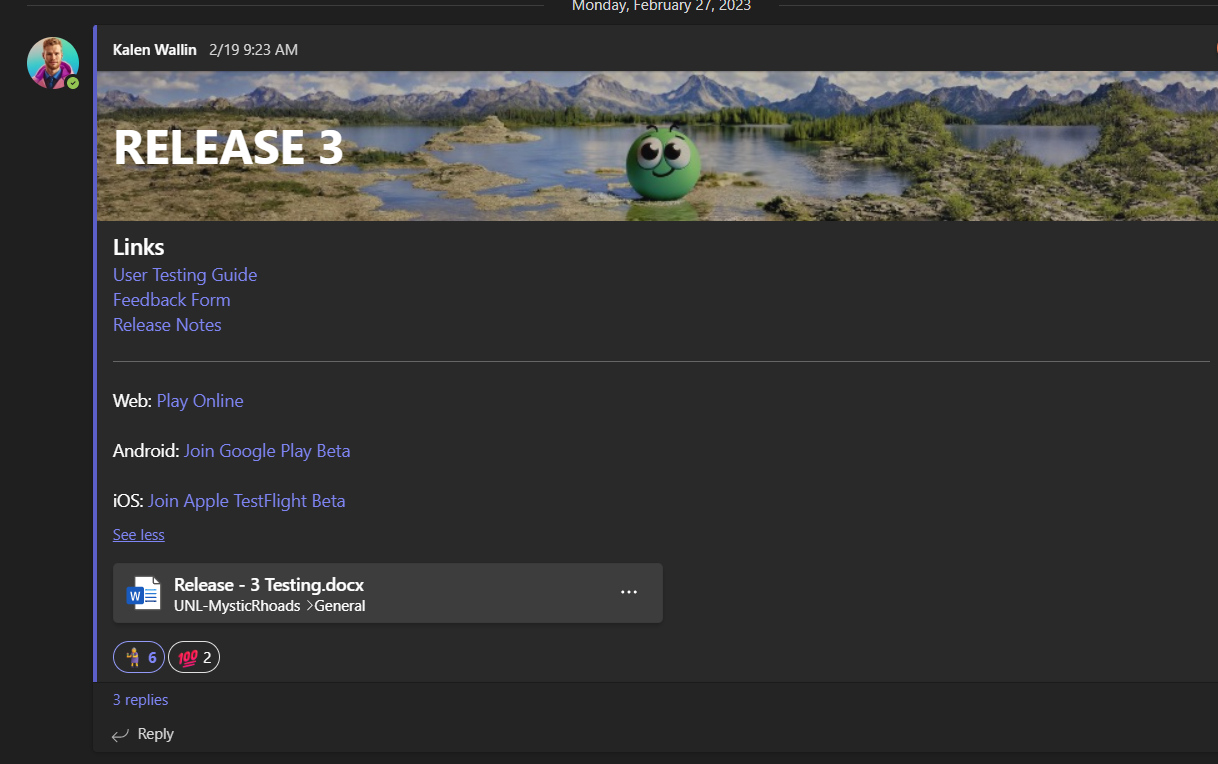
Which is much more pleasing to look at than this:
Portfolio.v1 Article Cover Image
We will look into the process of how I made the cover image for the Portfolio.v1 post on this site.
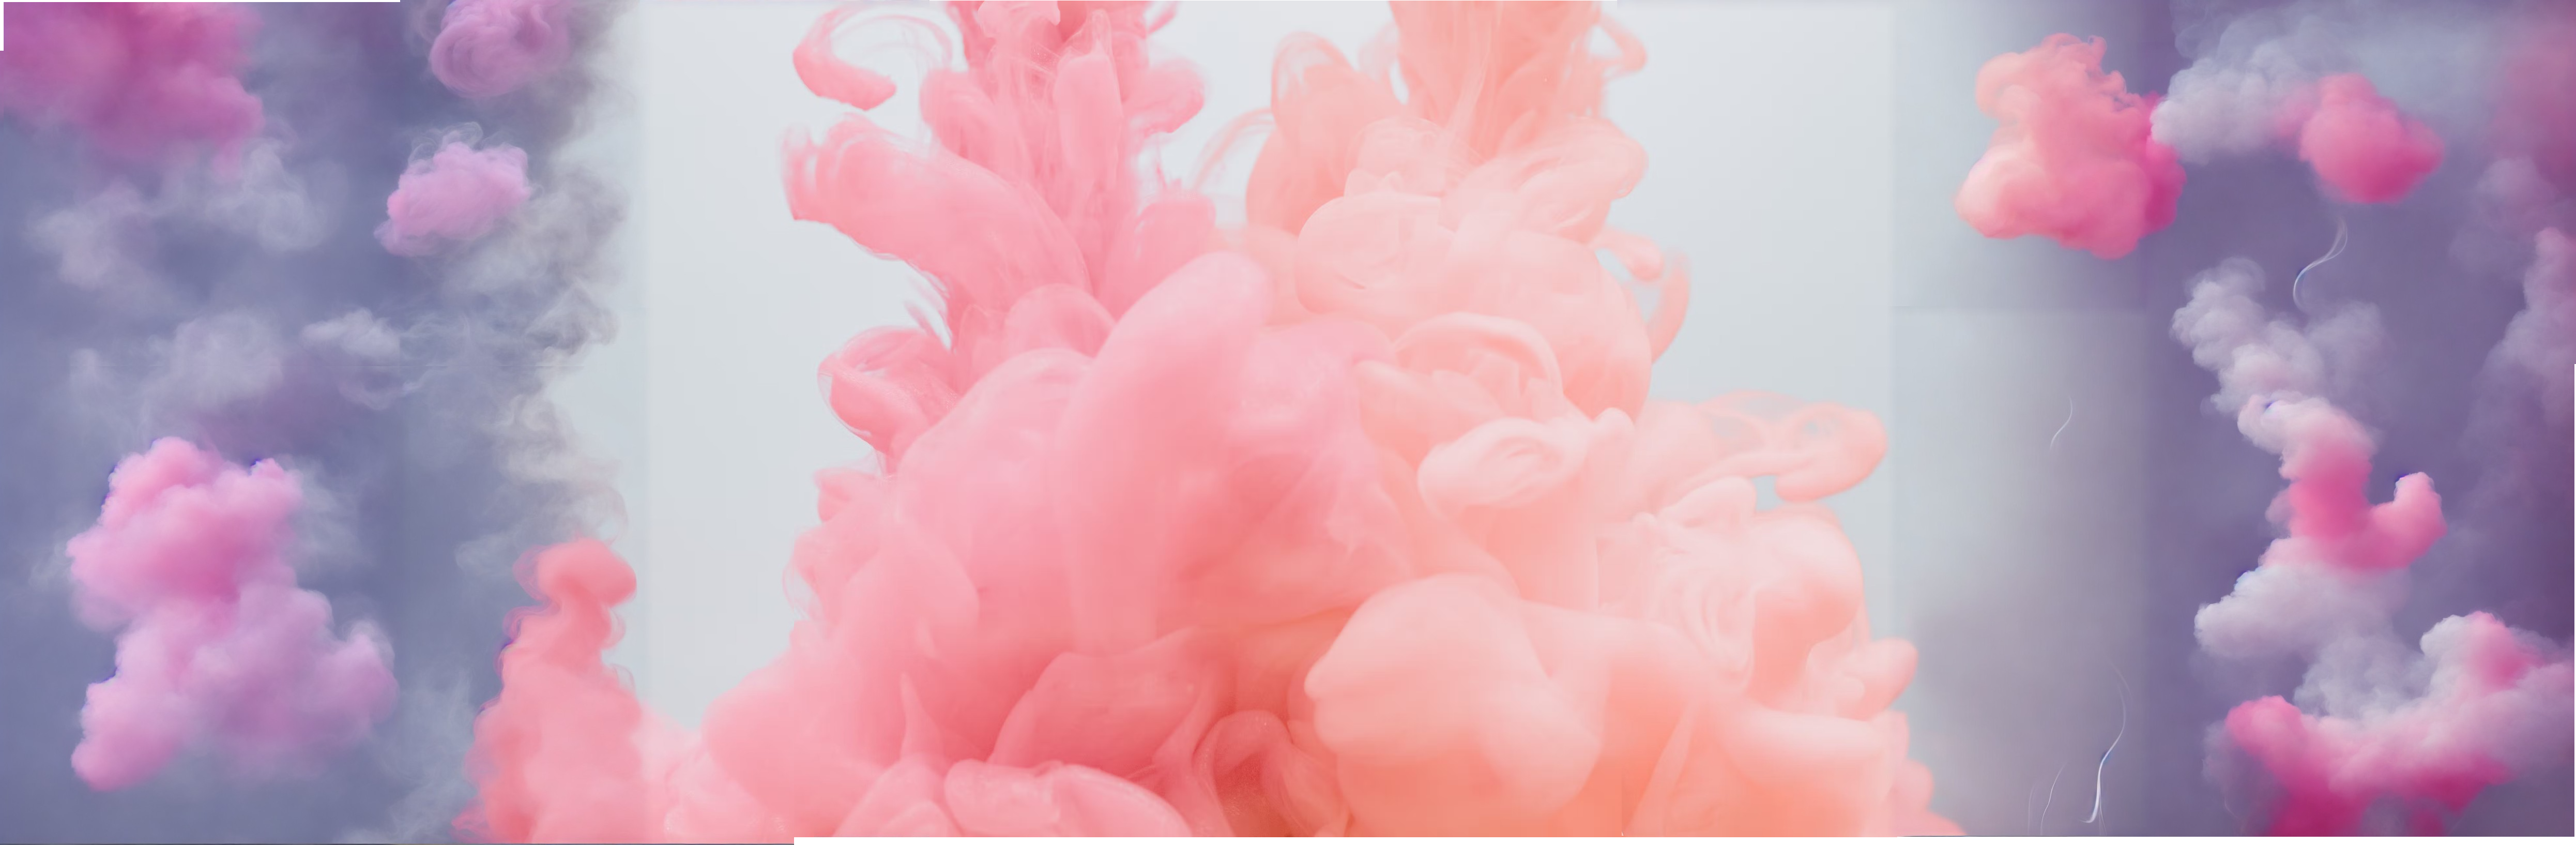
I used Canvas based on two images: A Lensa avatar and an image of pink smoke from Unsplash.


First, I resized the the pink smoke image to be twice as big as my avatar, then placed it behind my avatar. Using Leonardo’s mask tool, I replaced the blue-green-orange gradient with pink clouds.
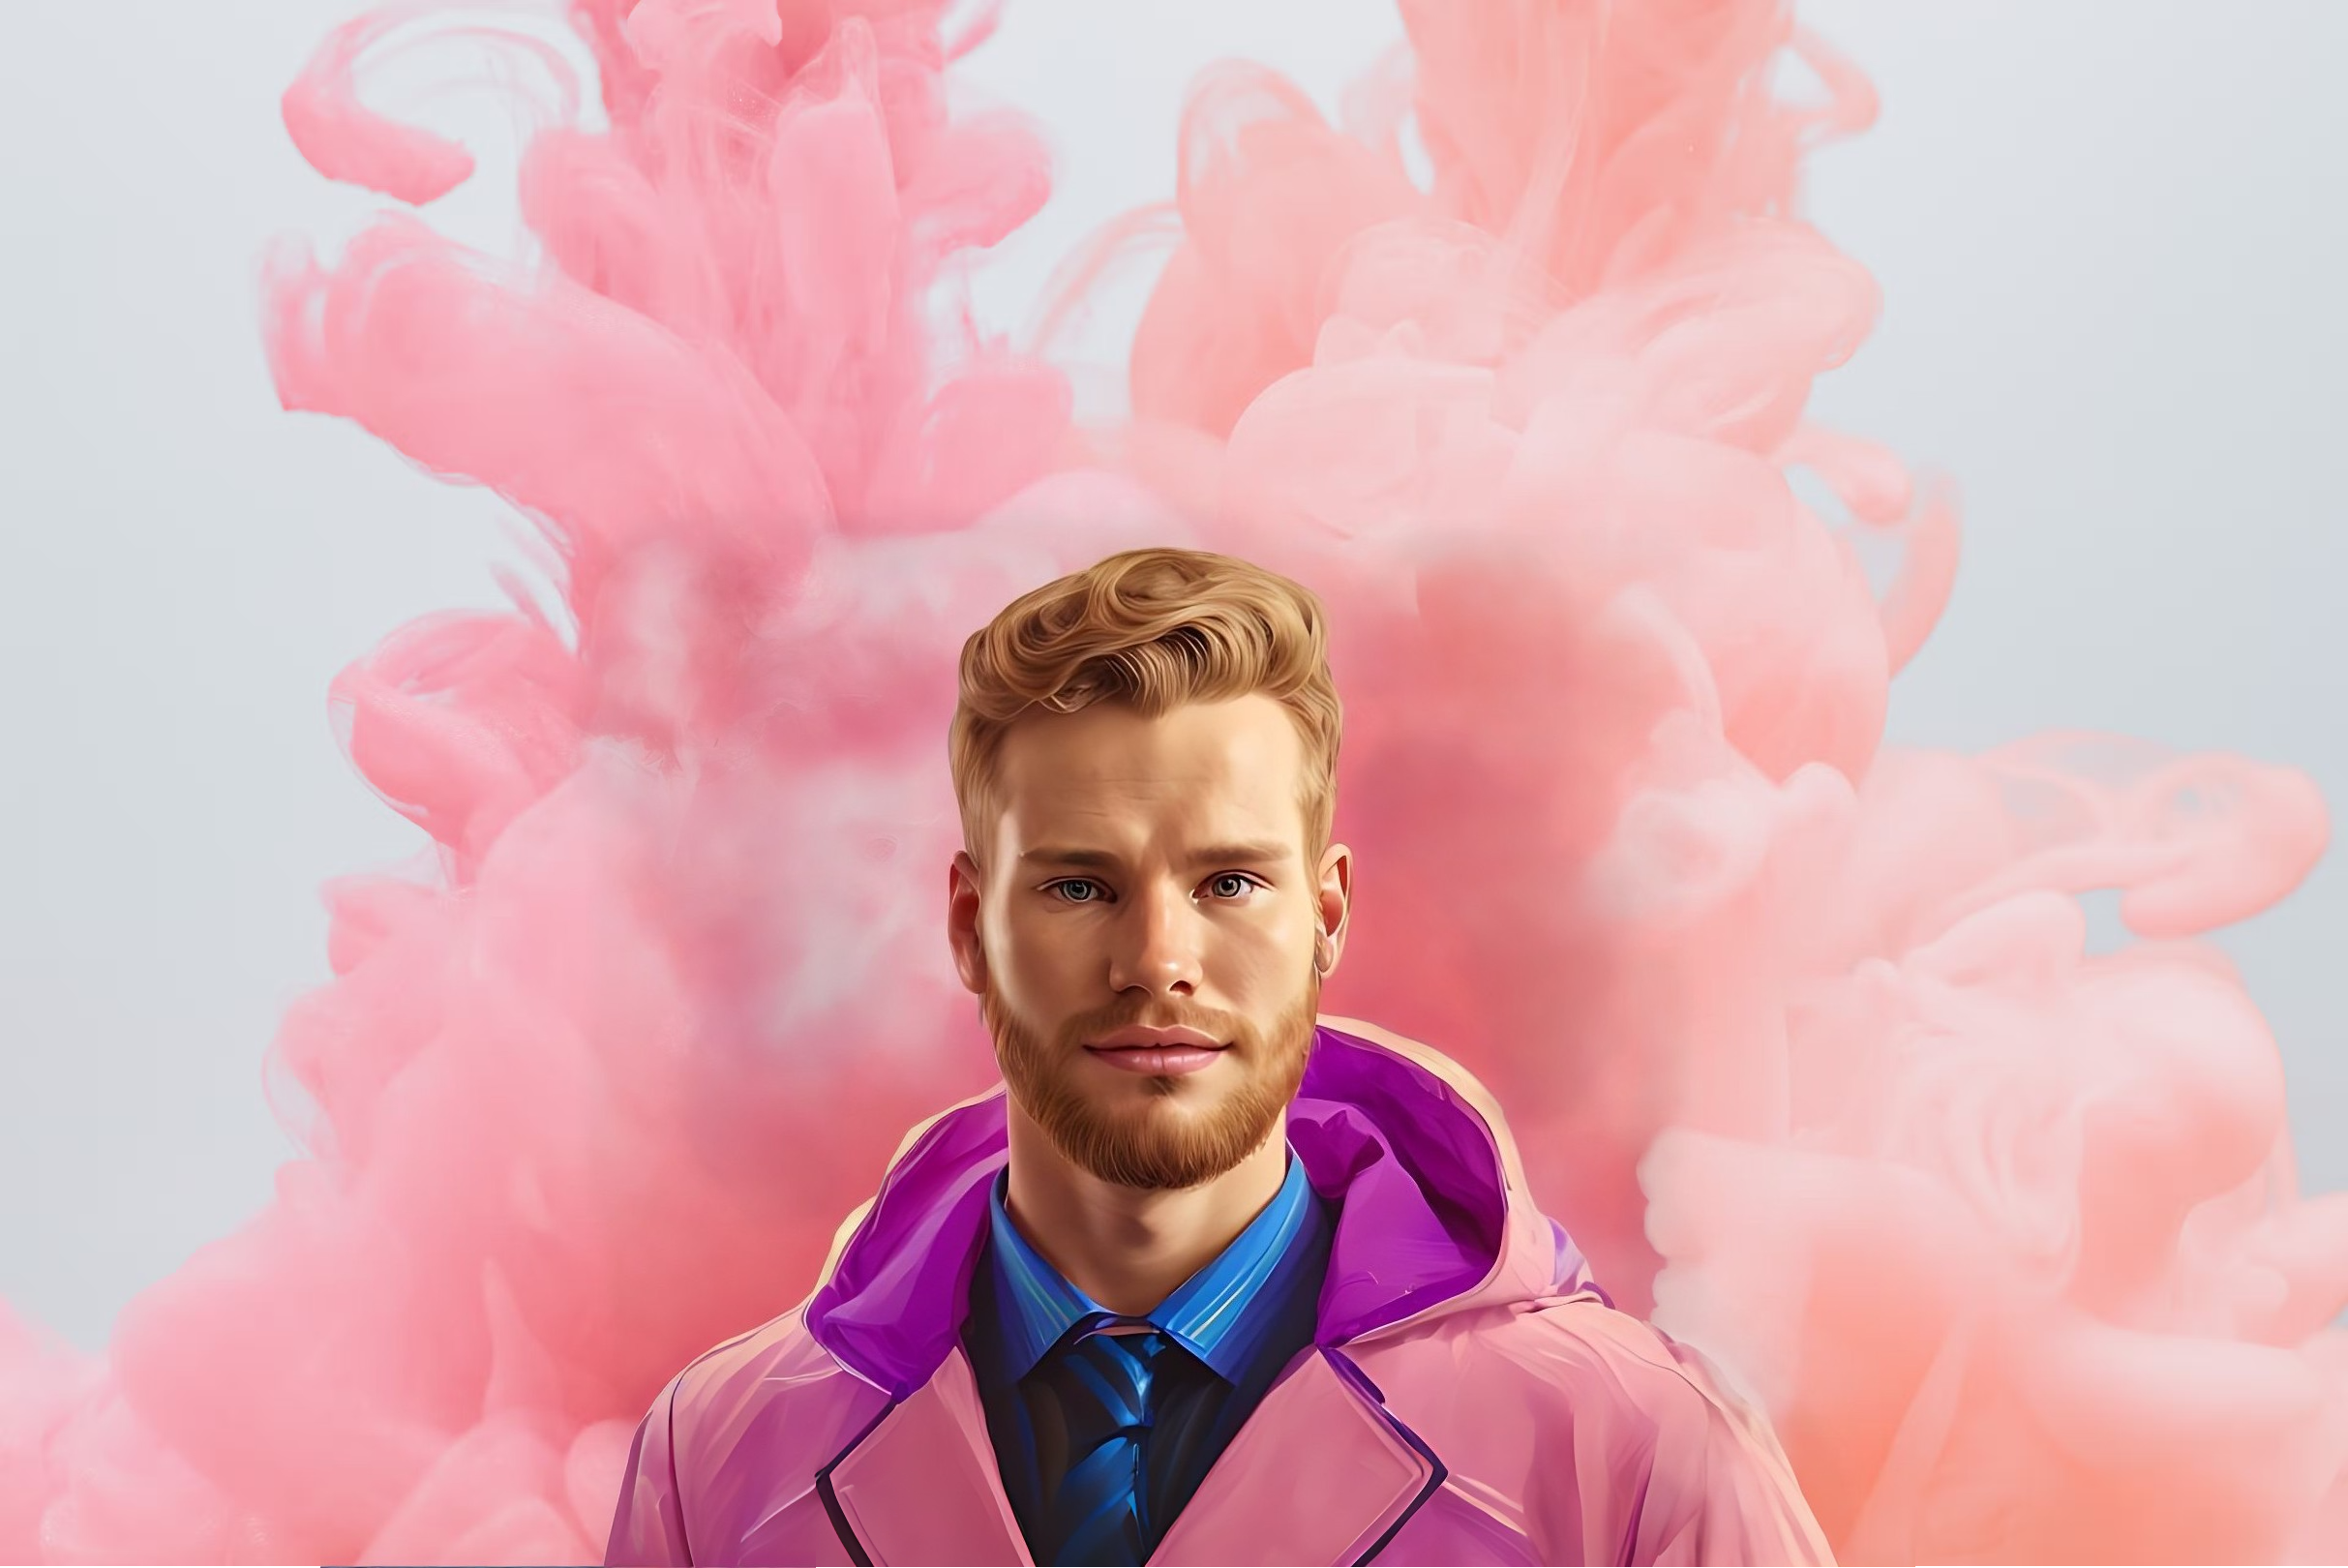
From here, I extended the background with the prompt: “pink clouds/smoke on light grey background”:

I did this a bit further until I had a wide enough image:
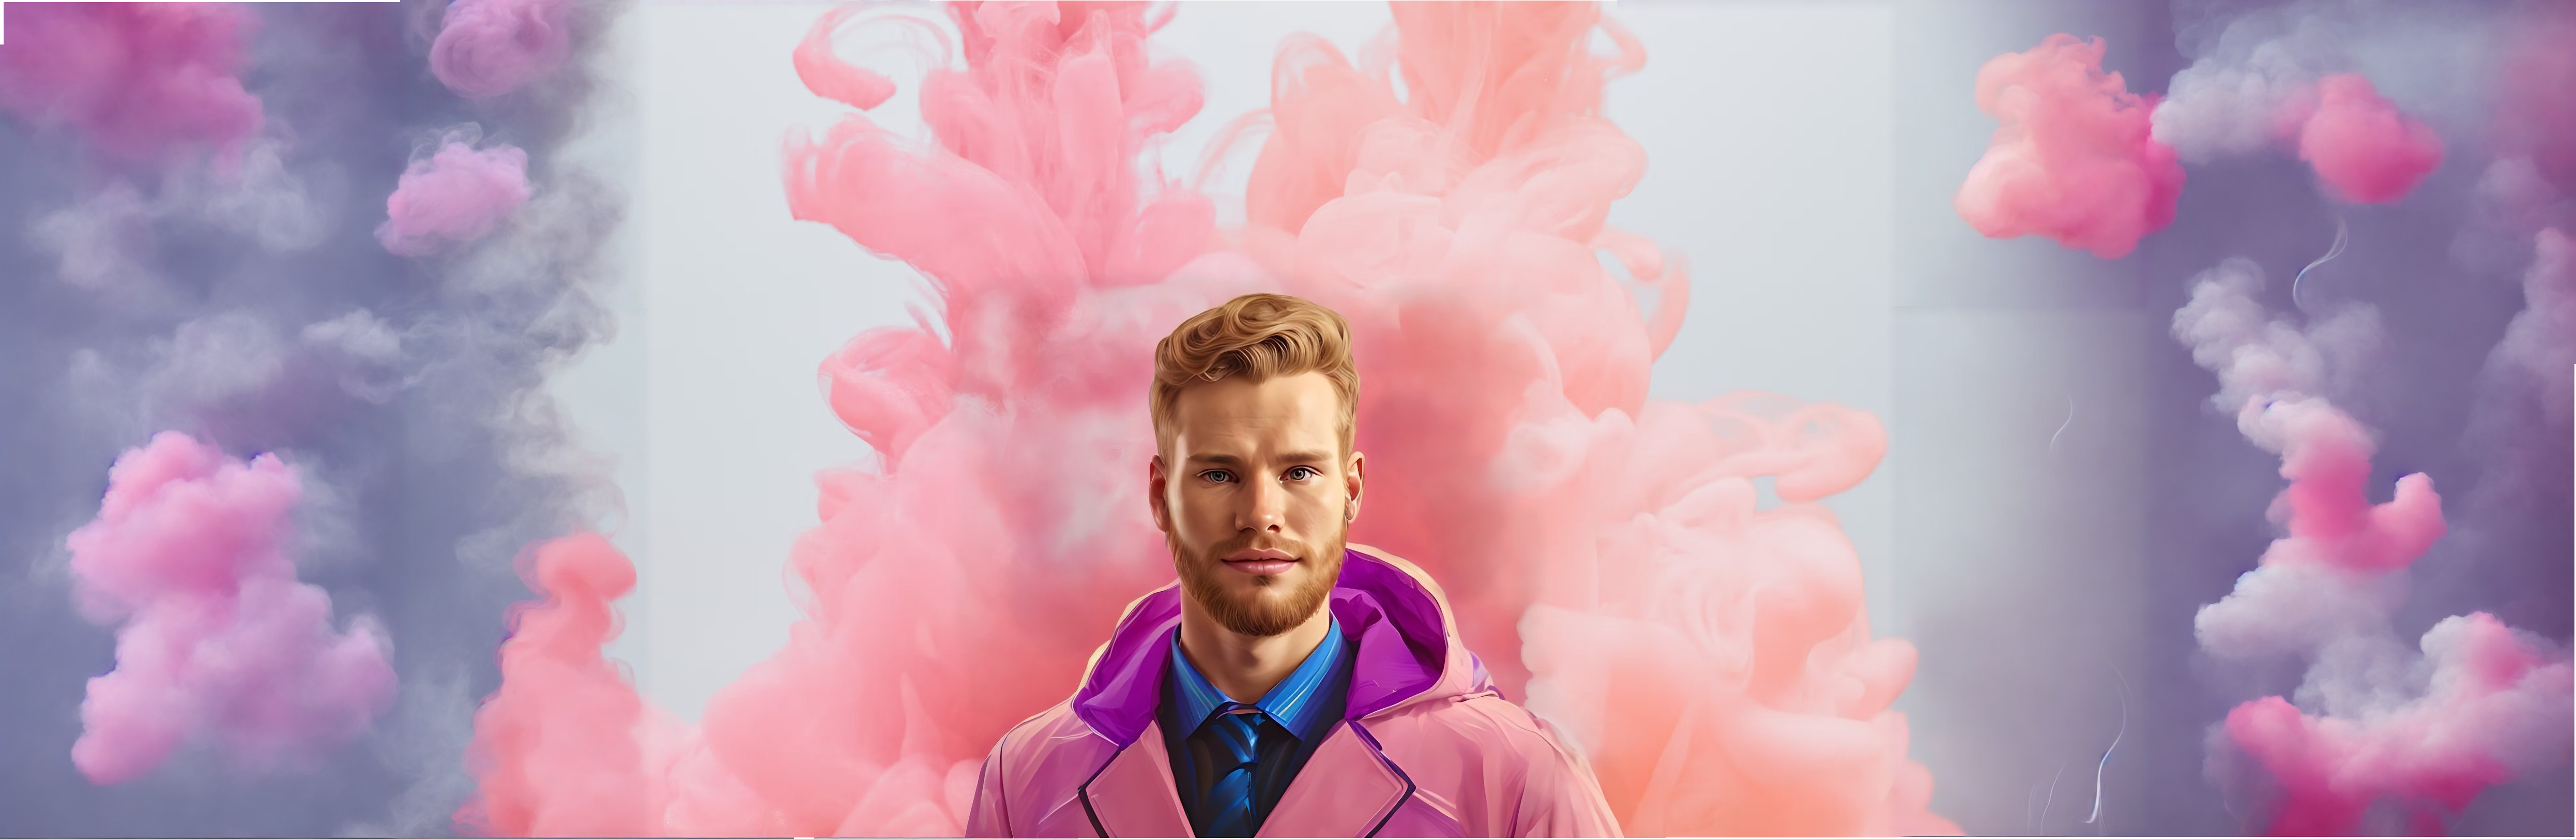
Then I cropped the image down to fit perfectly on my portfolio, using trial-and-error:
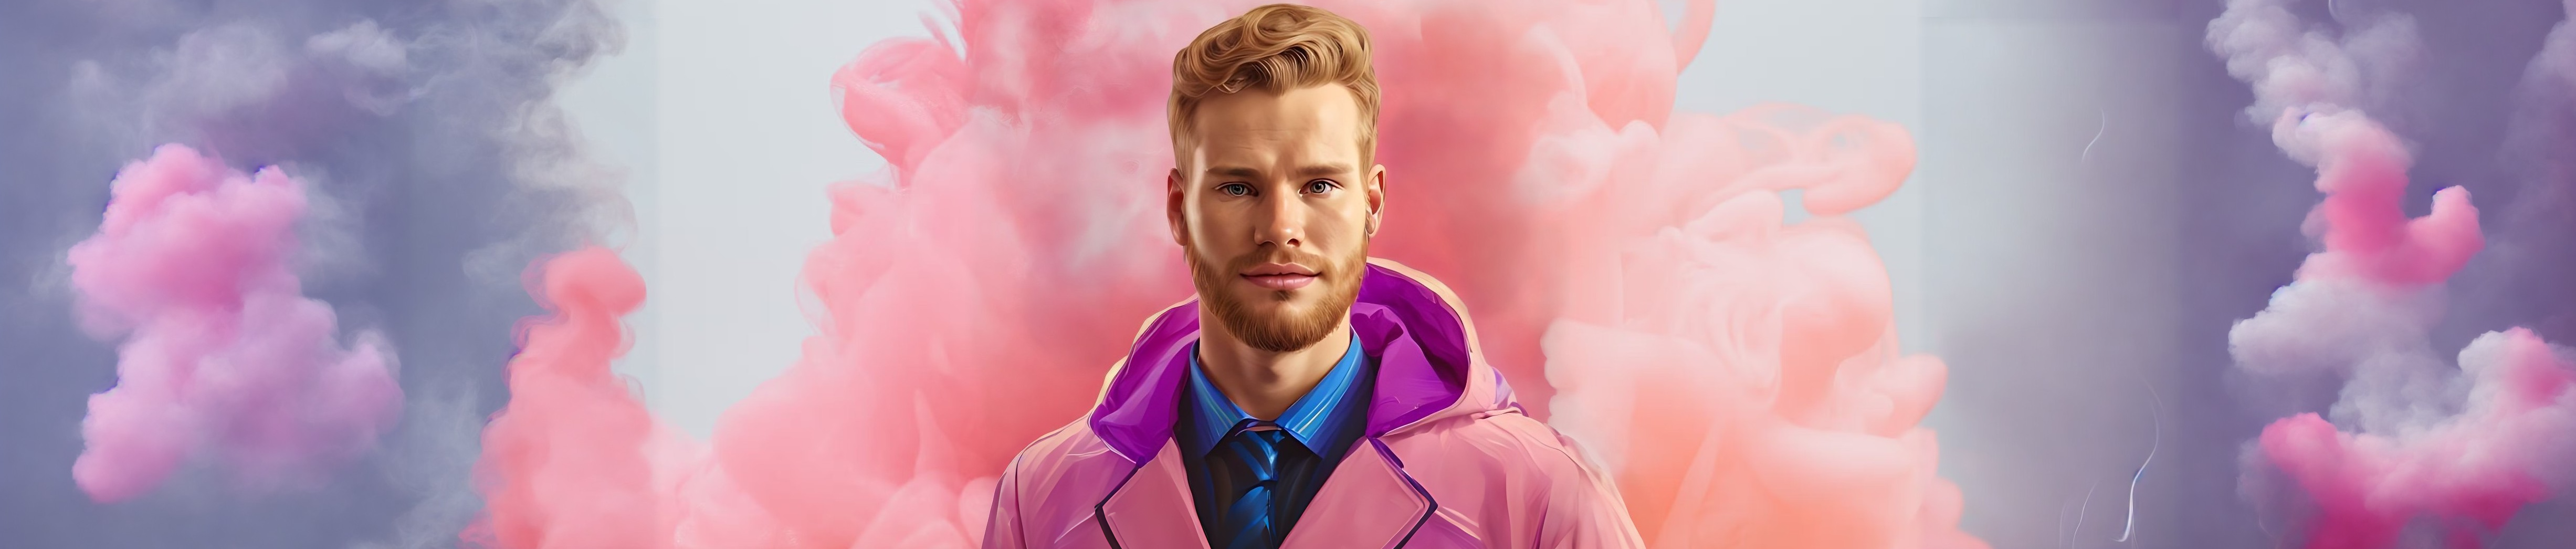
Here’s the finished background with my avatar. Pretty epic right?